Sunday, October 28, 2012

It's a Boy! (part 2)

Last week, I posted about my cousin's baby shower (here). In that post, I said I would write about the cake balls I made in a later post. Well, here ya go.

Blue Velvet Cake Ball via @cupcake_n_bake #babyshower

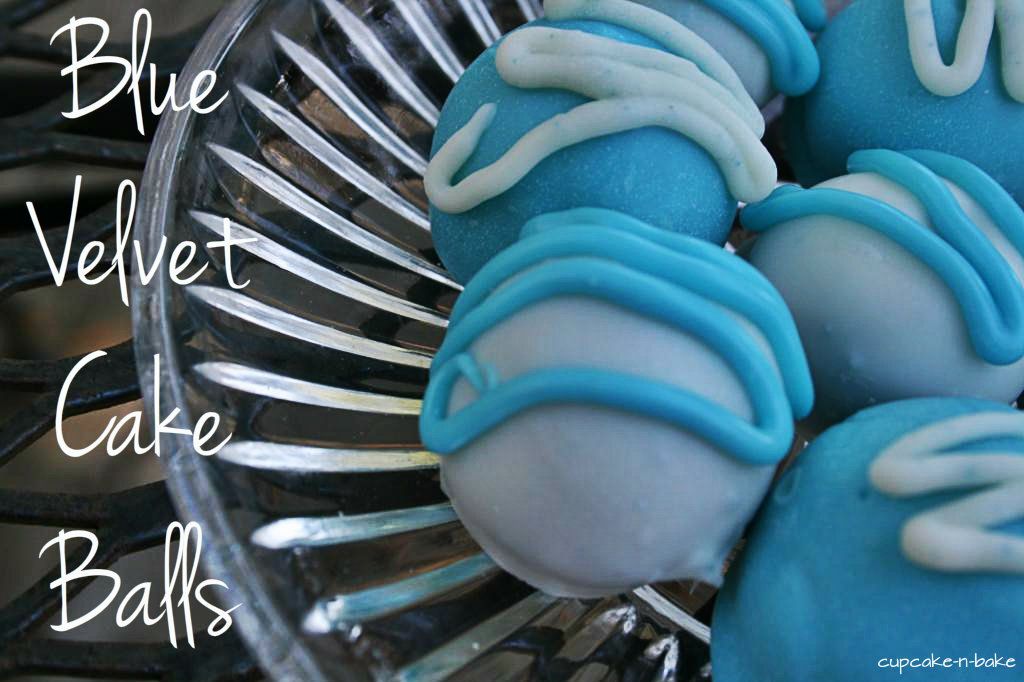
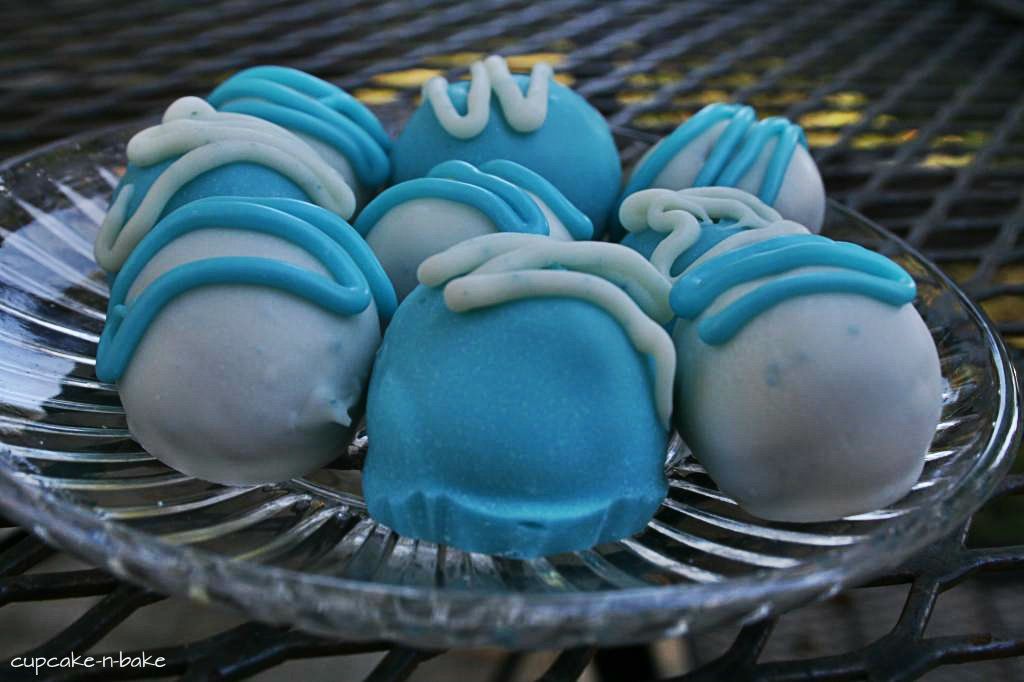
Before I start, let me just say that these were a total hit. I'm amazed to know that so many people don't know that the secret to red velvet cake is food coloring, and to get blue velvet, you just change the food coloring. I was going to make cake pops, but I really didn't want to make 140 of those. So I went with pop-able balls. 

Blue Velvet Cake Balls via @cupcake_n_bake #babyshower

Here's the recipe (Print)

Ingredients:
2 1/2 cups of self-rising flour
1 1/2 cups of sugar
3 tsp. of cocoa
1 cup of milk
1 1/2 cups of oil
1 tsp. vinegar
2 eggs
1 tsp. vanilla
1 (1/2 oz.) bottle of blue food coloring

Directions:

  1. Preheat oven to 350.
  2. In a large bowl, mix all the dry ingredients together.
  3. Add the eggs and the oil, and beat well.
  4. Add all of the remaining ingredients to the mixture, and combine well.
  5. Grease 3 (9 inch) pans, and pour the batter in.
  6. Bake at 350 for 25-30 minutes or until a toothpick comes out clean when inserted.
Blue Velvet Cake Balls via @cupcake_n_bake #babyshower

Now for the cake ball directions.

You'll need:
3/4 can of Cream Cheese Frosting
4 bags of candy melts
cake (of course)
squeeze bottles

Blue Velvet Cake Balls via @cupcake_n_bake #babyshower

To make the balls, chop up your cake. It should be really chopped up (no big chunks). Then, add the frosting and mix really well. It doesn't matter if you dye the frosting blue or not. That's your choice. After you get the frosting mixed, roll one inch balls and set aside.

Melt the candy melts one bag at a time. Make sure to follow the directions on the package. If the chocolates aren't smooth enough, add a bit of shortening. You will have to do this to each of the bags of candy melts. 

Dip the cake balls into the chocolate. I started by using toothpicks, and that just didn't work. So, after a long frustrating while, I decided just to throw one cake ball in the chocolate at a time and use my rubber spatula to dig them out. Then, I used a toothpick to transport them to a cookie sheet. It worked out pretty well.

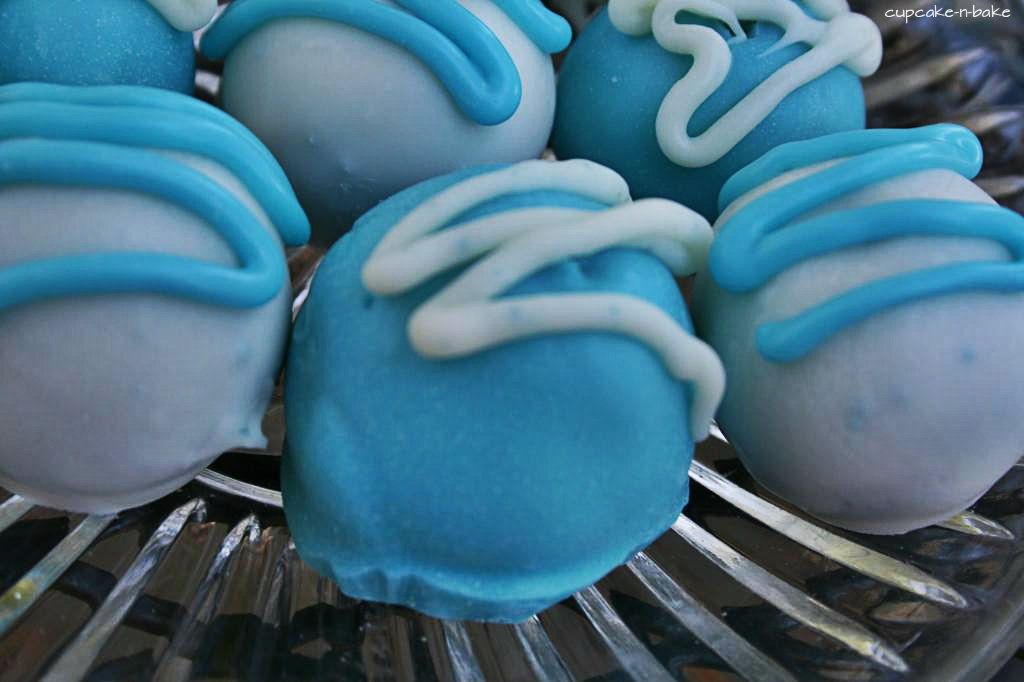
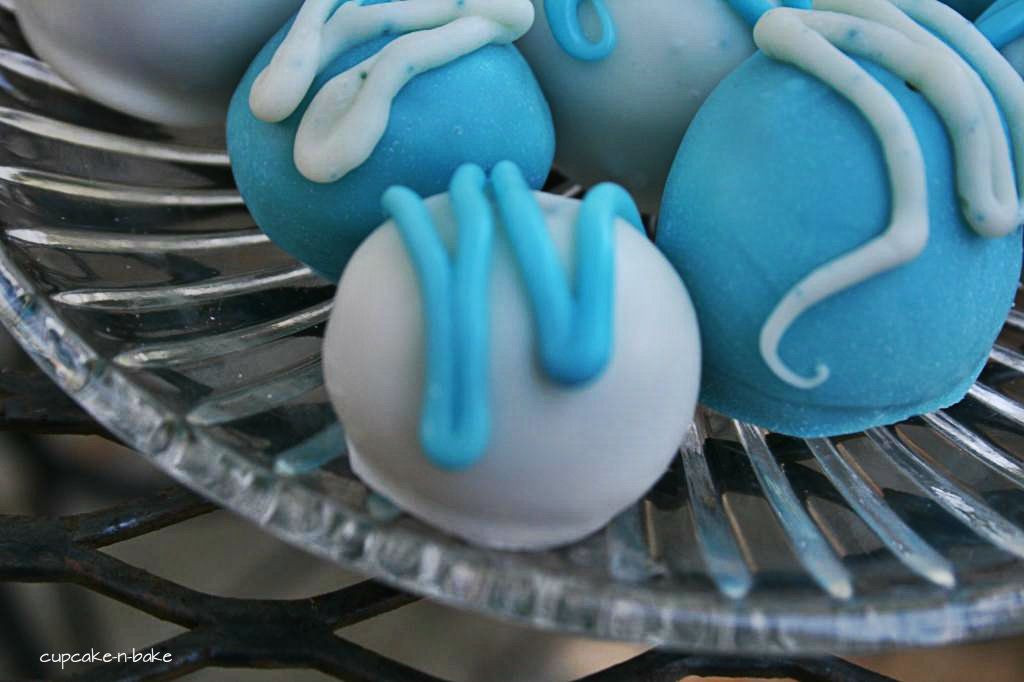
When I was finished covering all the cake balls, and they were cooled, I poured some freshly melted chocolate in my squeeze bottles, and made swirly designs on my cake balls.

Blue Velvet Cake Balls via @cupcake_n_bake #babyshower

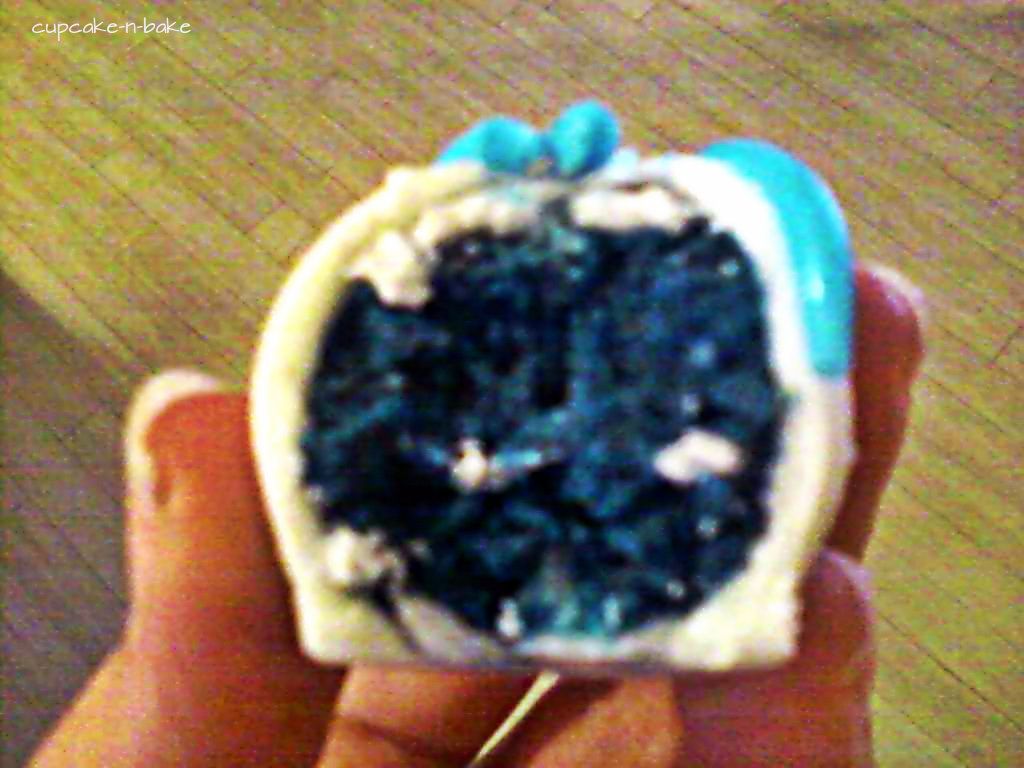
These turned out wonderfully, and everyone loved the cake balls. They were all so surprised that the cake was blue. These were perfect for a boy baby shower. So when your making cake for your next baby shower, think about these. I bet they would look good in pink, too!
Print Friendly and PDF

Thursday, October 25, 2012

Boo!

Ok guys, this is my last Halloween post of the season. I'm so sad about that because Halloween is my second favorite Holiday. However, I do have an order coming up that will be a great post for next year. But, that's for another time. Let's get to this post ;)

Mini Ghost Cakes via @cupcake_n_bake #Halloween

Yesterday, I made a Ninja Turtles cake (post to come next time). Turns out, I had some extra cake, and I preserved it nicely. I was able to make a few mini cakes out of it, and I decided to make them a little spooky.

Mini Ghost Cakes via @cupcake_n_bake #Halloween

I used a little Casper cookie cutter that someone picked up for me at a yard sale. 50 cents - score! I just used it like I would if I were making cookies, except the cake was a little too thick. I had to work a little harder to get it all the way through.

Mini Ghost Cakes via @cupcake_n_bake #Halloween

I originally wanted to slice it to make it two layers, then just ice the middle, but I decided against that. So, I used white icing to coat the top. I'm not a huge icing fan, so this was perfect for me. I gave the icing some waves to make it look like the ghost was flowy. 

Mini Ghost Cakes via @cupcake_n_bake #Halloween

I added some black eyes and an "O" shaped mouth to give it a ghost effect. This way, they are spooky and cute at the same time. I wasn't sure how ghostly they would look, because, to be honest, I wasn't sure if I really believed the cookie cutter was a ghost. I'm convinced now. 

Mini Ghost Cakes via @cupcake_n_bake #Halloween

Mini cakes are the perfect size for a snack, and hey, you can't have Halloween with a few ghosts. Am I right?

Happy Halloween yall!

Print Friendly and PDF

Bloglovin' Blog Hop

Hey Guys! I'm co-hosting a Bloglovin' Blog Hop with my friend Jenny from The New York Melrose Family. So, Jenny is stopping by the blog today to share all the info and the link up. Have fun!

If you're looking for Whimsy Wednesdays you can find it here. Otherwise, continue on down to mingle with some amazing bloggers!


What's Bloglovin' you ask? Well, only the greatest way to keep track of the blogs that you love. With the discontinuation of Google Friends Connect (GFC) for non-blogger blogs like myself, I decided that I needed to find another way to keep up with all of my favorite blogs that are not hosted by blogger. I stumbled upon Bloglovin' and I am in love! It is very similar to Google Reader, in that you can see the beginning of the post and the first picture attached to the post. Plus, Bloglovin' automatically updates your posts. Another added bonus is there is a Bloglovin' application for IPhone and Android devices. Woohoo! Like I don't spend enough time reading blogs. Now it's a simple touch. Love it! In order to participate in this hop, you need to have Bloglovin set up for your blog. You can find a super easy tutorial here. I promise it'll take you less than 10 minutes and you'll thank me down the road.


There’s only a couple of rules:
1. Please follow your hosts! They are the 1st seven blogs linked.
2. You MUST link up your Bloglovin' url to participate, NOT your blog.
3. Post our button for the blog hop on your page to promote the fun or share about the hop through Twitter or Facebook would be greatly appreciated.

If you're interested in co-hosting next month, you can find info here and then shoot me an email at russej10{at}gmail{dot}com if you're interested. I also have some sponsor spots still available for November, which you can find here. Alright, so let's have some fun and mingle! Please remember to ONLY link up your Bloglovin URL. Print Friendly and PDF

Sunday, October 21, 2012

It's a Boy! (part 1)

Hello again!

I know it's been a while. I'll admit, I went a little awol, and I haven't been around the blogging world. To be fair, I haven't been on the internet for a while. I've been a busy busy bee. My sister asked me to make cookies (that I have already blogged), so that kept me from writing early last week. Then, it was time to make the baby shower items that I had been planning for a while. It took me literally 20 hours to finish it all. I counted. So yeah, I know that's not a good excuse, but I'm back now. Yay! Okay, enough with my rambling. Let's get to the goods.

Baby Shower Cookies via @cupcake_n_bake #babyshower

I made 70 of these bad boy cookies for my cousin's baby shower. Really, I did it for my aunt. She always throws the showers for any of the girls getting married or having babies. I'm from a large family, so this is no small feat. So, I volunteered to make the goodies this time. 

Here's what you need:
  • Your favorite sugar or chocolate cookies
  • royal icing
  • gel coloring in light blue, green, and copper
  • 2 small round paint brushes and 1 small liner brush
  • green and blue sugar crystals

Baby Bottle Cookies via @cupcake_n_bake #babyshower

I started with the white. I outlined every cookie that I wanted white first. It was the easiest. I knew the bottles had to be white, so I knew that I would need a lot of white. For the bottles, outline only the bottom. You'll want to leave space for the top and the nipple. After you finish outlining, Flood your cookies with the white icing. Repeat these steps with the blue and the green. I worked one color at a time. If you are going to do any special designs, make sure to plan for that. I'll get to that later.

Also, on some of the bottles, I painted a little corn syrup onto the top and added sprinkles to give it texture. For the nipples, I used a little of the copper coloring to get that pretty peach color. 

baby Shower Cookies via @cupcake_n_bake #babyshower

See how I made the design on the elephant in the picture above (not the plaid). This is what I was talking about when I said "special designs". I made sure to outline everything I wanted in order to separate the colors. Then, I filled the spaces with the appropriate colors. For the onesies, I made different sized stripes. I mean, sure some onesies are plain, but not all of them. 

Onesie Cookies via @cupcake_n_bake - Perfect for #babyshower

The plaid was not only the most fun, but they were also my favorite. They were super easy, too. These are where you paint brushes come in. You'll need the two round brushed for the green and the blue and the liner brush for the copper. 

First, use either blue or the green to draw one vertical line and one or two horizontal lines. Repeat the step with the other color. Finally, finish the painting with the copper. At the bottom, you don't have to add the second horizontal line. Just draw whatever fits. 

Baby Shower Cookies via @cupcake_n_bake #babyshower

Above is the final product. I forgot my camera, so I snapped a picture with my mom's phone. It takes better pictures than my phone does. I thought they turned out very well, and the people at the party loved them.

I've got a lot of stuff coming up in the next week, so I won't be gone a whole week again. Stay tuned for part two :)
Print Friendly and PDF

Monday, October 8, 2012

Twitter Tuesdays

It's finally here, Twitter Tuesdays! I've seen Google + blog hops, Bloglovin' blog hops, and Facebook blog hops. It's time for a Twitter blog hop. Everyone could use more love on Twitter, so get ready to link up!


Cupcake-n-Bake


Here are the rules:

  1. Please follow me. My handle is @cupcake_n_bake, and I'm the 2nd link.
  2. Follow at least two other people.
  3. Grab a Button either above or on the sidebar.
  4. Tell your friends
If you are interested in co-hosting, please let me know. You can email me at renea.hand@gmail.com, and we can go over the details. 

Now to Party!

Print Friendly and PDF

Saturday, October 6, 2012

Buttermilk Pie + an Announcement

As a kid growing up, I spent a lot of time at my Grandma's house. I was able to walk there until I was ten and moved farther away. My Grandma is one of my best friends, and I love her dearly. I hope to someday be just like her. I love to cook, and I think that is because of her. I would spend hours with her in her kitchen, just cooking away. This post is for her.

Buttermilk Pie via @cupcake_n_bake
I'm not really a fan of pie. I'm more of a cupcake kind of girl. I mean I don't even like Chocolate Pie. (I know, crazy, right?) There are, however, two pies that I do like, Pecan and Buttermilk. I'll cover the Pecan Pie on a later post, but, today, I'm talking about my favorite, Buttermilk. 
My Grandma is the only person that has ever made Buttermilk Pie for me. She makes it almost every holiday, but I always thought of it as a fall treat. I made it once for Hubby back when we were dating, and he's been hooked ever since. 
Buttermilk Pie via @cupcake_n_bake
It's a really simple recipe. Here's what you'll need (Print it Here):
  • 4 eggs
  • 2 good cups of sugar (When I say good, I mean heaping.)
  • 1/2 tsp or less of salt
  • 2 tbsp of self-rising flour
  • 6 tbsp butter
  • 1 tsp vanilla
  • 2 pie shells
  • 2/3 cup of buttermilk
Directions:
  1. Pre-heat oven to 400.
  2. In a mixer, beat the eggs until they are foamy.
  3. Add all of the other ingredients except the buttermilk. Mix well.
  4. Add the buttermilk, and mix again.
  5. Pour the mixture into the pie shells. I use pre-made pie shells, but homemade ones are good too. 
  6. Bake at 400 for 20-25 minutes, or until an inserted toothpick comes out clean. 
  7. Cool completely before slicing or storing. Store covered in the refrigerator. 
Buttermilk Pie via @cupcake_n_bake
Your crust should be nice and brown, and the top layer of the pie should be a golden color. I personally think the pie gets better the cooler it is, but it's good fresh too. Pour me a glass of milk, and I could eat this for breakfast, lunch, or dessert!
Buttermilk Pie via @cupcake_n_bake
Even if you don't like pie, or custard pie, I would encourage you to try this. It was a staple in my childhood, and I look forward to family gatherings specifically for this. 
Cool weather is upon us, and so is pie season. So, grab a blanket and a slice, and get cozy with comfort food!
Buttermilk Pie via @cupcake_n_bake
Now for a quick announcement. This Tuesday, I'll be hosting my very on link party. It's not your typical link party, though. It's a Twitter party! So stop on by, and link up your twitter handle. Don't forget to spread the word; you can grab my button over on the side bar. I hope to see you there!

 “Come join Love the Pie with TidyMom  sponsored by Whirlpool and enter to win a new Whirlpool Range
Print Friendly and PDF