Sunday, December 23, 2012

Spreading a Little Holiday Cheer

Hello All,

This is not a real post. I'm just writing you guys to say I hope you have a wonderful Holiday, whatever Holiday you may celebrate. Hubby and I have a busy week ahead with festivities then moving. So, I won't be able to post for a while. When I get back, I'll have lots of yummy posts for ya. In the meantime, here are a few Holiday posts for you to look through. I hope you enjoy!

Christmas Stocking cookies via @cupcake_n_bake


Electric Christmas Trees via @cupcake_n_bake


#DIY Snowman Ornament via @cupcake_n_bake #Christmas


Plus, there are more! Just scroll through the Archive to see what you've missed. As you all sit down to open gifts, remember to love and appreciate who you have in your lives. So many of us forget that family and friends are more important than material things. May you have a blessed holiday season.


Photobucket
Print Friendly and PDF

Wednesday, December 19, 2012

Stocking Stuffers

Today was officially my last day at work. Woo hoo! We are moving quite a bit away for Hubby's job, so I decided to make cookies for all the cool kids at work. We were supposed to have a Christmas party, but that had to be cancelled due to the new hours of operation. You see, not everyone is there at the same time now. But, I did make cookies for all the people in my department as sort of a non-official goodbye party.

Christmas Stockings via @cupcake_n_bake #cookies #holidaybaking

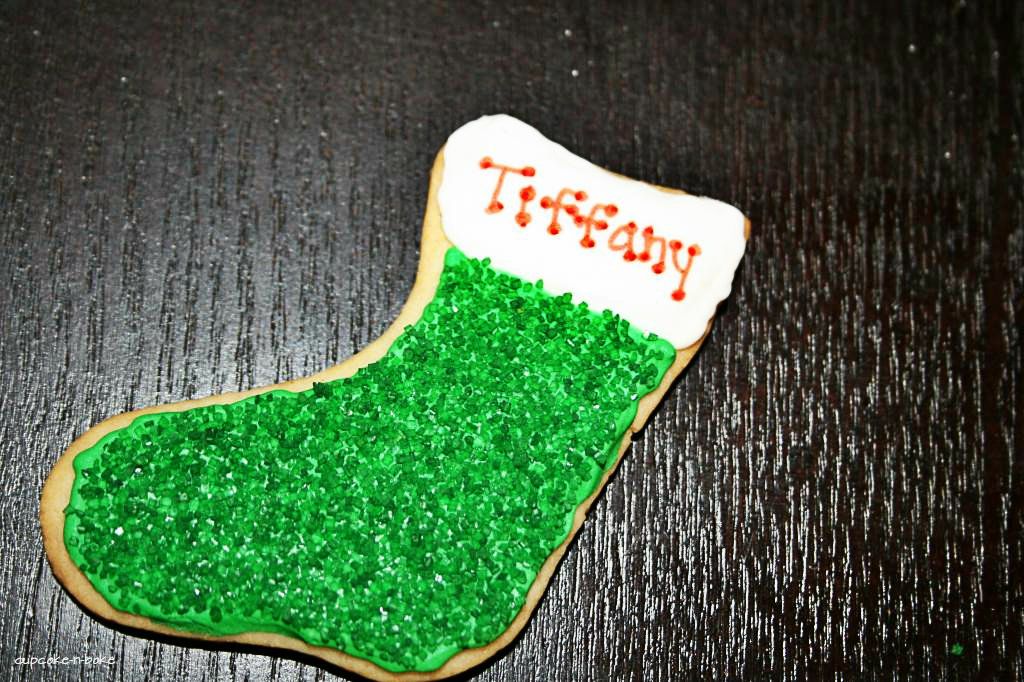
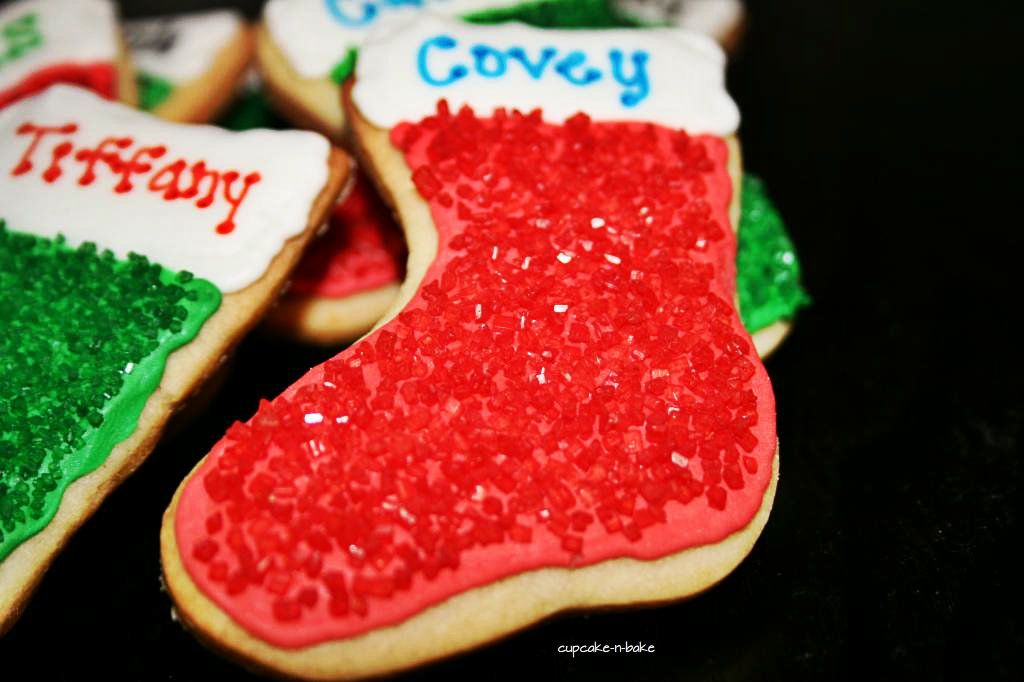
I wanted to do something personal and something Christmasy at the same time. So, I decided to do stockings. I know plenty of people have their names, initials, etc. monogrammed or glittered onto their Christmas stockings at home, so I wanted to make a play on that. These turned out to be glittery and "monogrammed". 

Christmas Stockings via @cupcake_n_bake #holidays #cookies

These are fairly simple to make. I mean, I never do anything too hard. Plus, I'm into simplicity; I just realized that I enjoy minimalist art. Oh, did I mention I'm just a little A.D.D.? Yeah... sorry for the off-topic rant. 

Back to the cookies. Here's what you'll need:
  • Green and Red gel coloring
  • Edible Markers (any color)
  • Green and Red sugar crystals
  • Royal Icing
Christmas Stocking cookies via @cupcake_n_bake #holidays #cookies

Using plain white royal icing, outline the top using a #2 tip. Then, using the red (or green) outline the rest of the stocking. Let that sit for about 2 minutes.

Now, flood the cookies with thinned royal icing (with the appropriate colors). A lot of people use squeeze bottles for this. I didn't, because I only needed 10 cookies. I used a small spreading knife to scoop the icing onto the cookies. Push the icing into the corners with a toothpick. Let the icing dry for a few minutes.

Christmas Stockings via @cupcake_n_bake #holidays #cookies

While the icing is still wet, but not too wet, cover the colored spaces with the appropriate colored sprinkles. Let the icing cool completely to set in the sprinkles. I waited 4 hours, but sometimes this takes longer.

When the cookies are completely dry, use the edible markers to write the names on the stockings. I decorated mine with dots on the ends of each letter. That's mostly because I don't have the best handwriting. But, a lot of people have great handwriting, so feel free to make pretty designs with the markers. That's why I love them. They are so simple to use and give you freedom to be artistic.

Christmas Stockings via @cupcake_n_bake #holidays #cookies

Not only are these great for office parties, but they are also great neighbor gifts. Another plus? They don't take long to make! So get out your baking supplies and make Santa some cookies.

Print Friendly and PDF

Tuesday, December 11, 2012

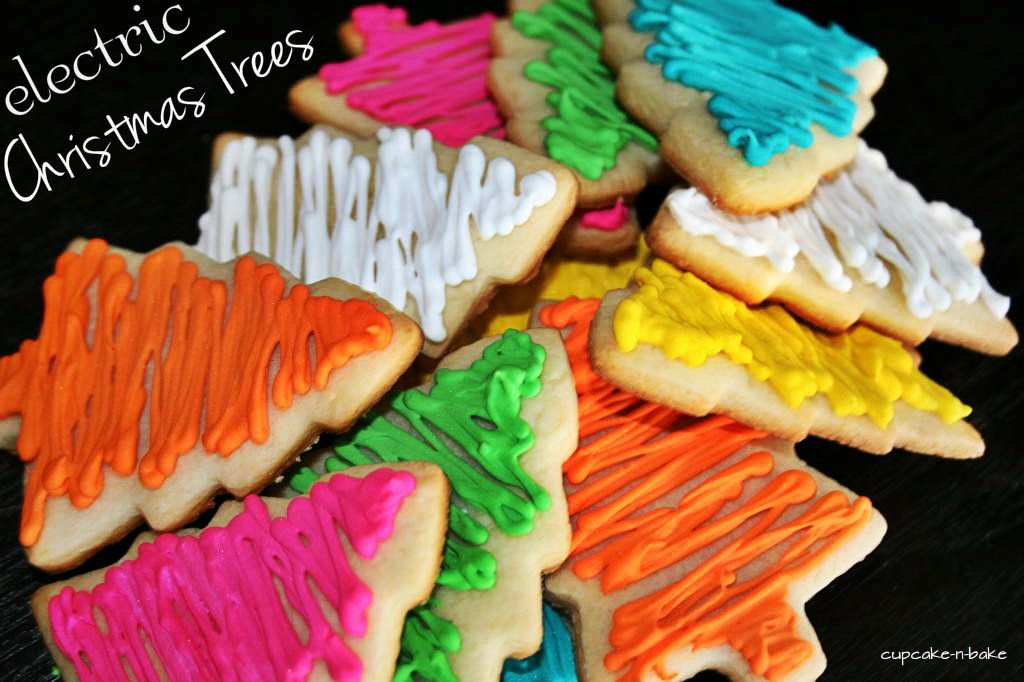
Electric Christmas Trees and Twitter Tuesdays #3

Hey there, and welcome to Twitter Tuesdays! I'm so glad you could make it. Today, I'm doing something a little different. I'm posting some cookies as well as the party. Let's start off with some Christmas magic!

Electric Christmas Trees via @cupcake_n_bake #holidays #cookies

So I had this really nice list of cookies planned out. It had what days I was going make each cookie design. Well, let's just say that didn't go exactly as planned. I should have known I was too ADD for that. Oh well, these are cool too. 

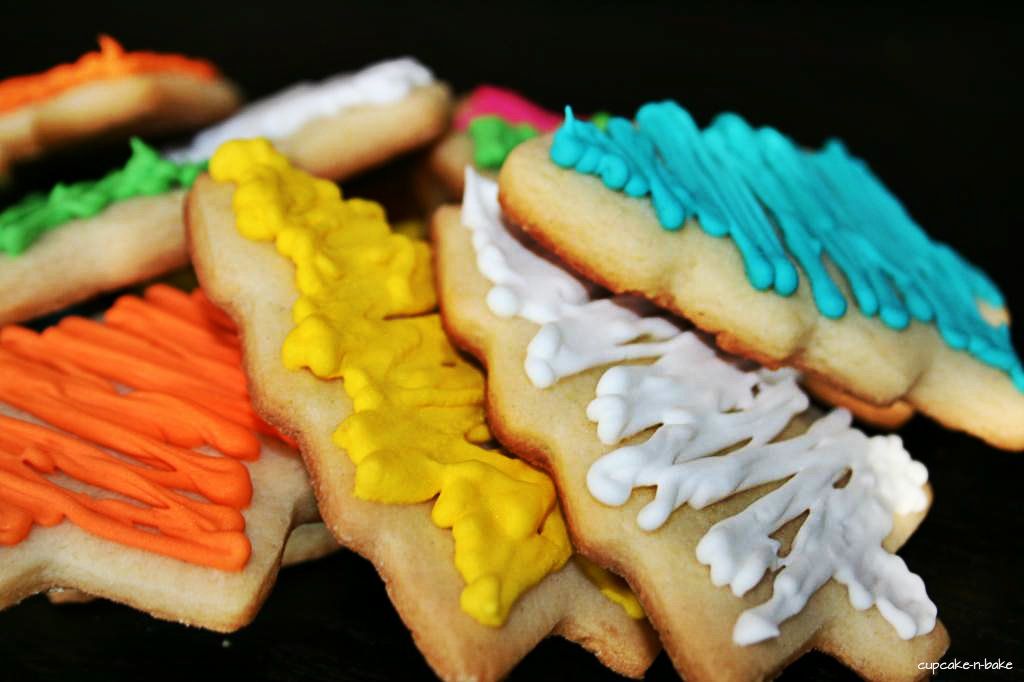
Electric Christmas Trees via @cupcake_n_bake #holidays #cookies

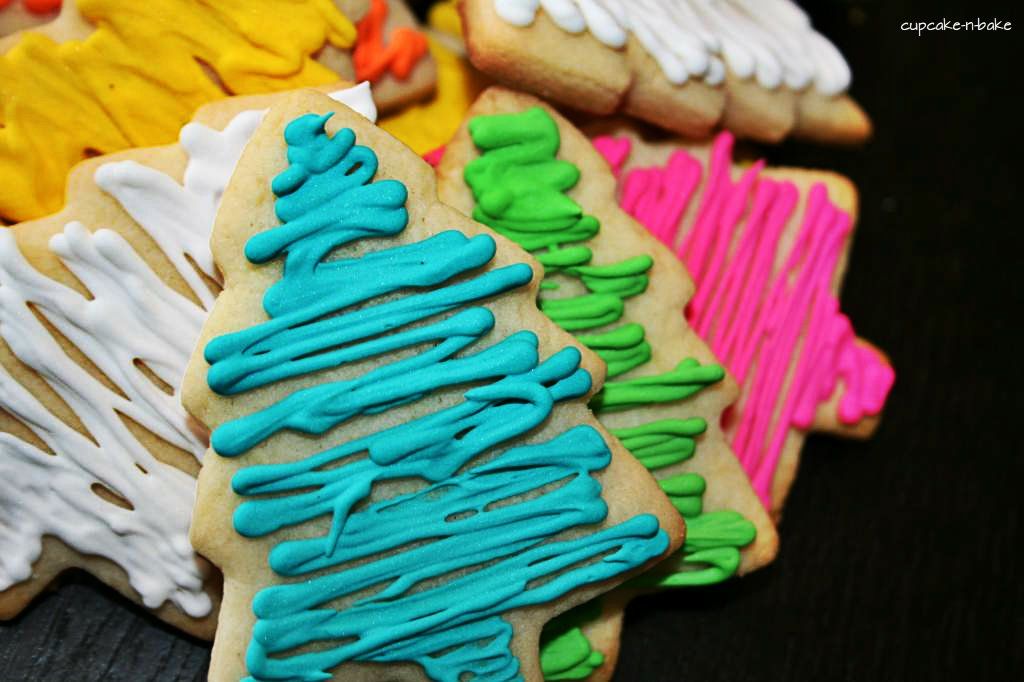
As I was walking through the mall the other day, inspiration hit me. The Children's Place had all of these brightly colored artificial trees throughout the store. I knew I had to make them. Electric Christmas Trees were born!

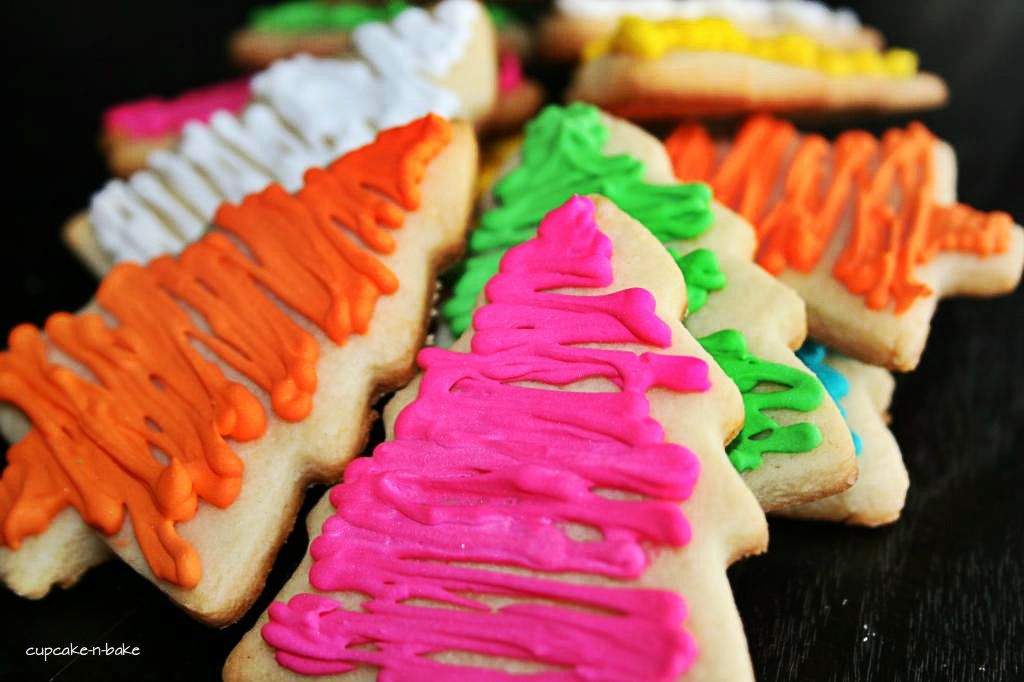
Electric Christmas Trees via @cupcake_n_bake #holidays #cookies

If you want to make them, they are really very easy. All you need is a tree cookie cutter, cookies (duh), royal icing, #2 tip, and Wilton gel coloring in teal, rose, orange, leaf green, and lemon yellow. I just used the base royal icing for the white.

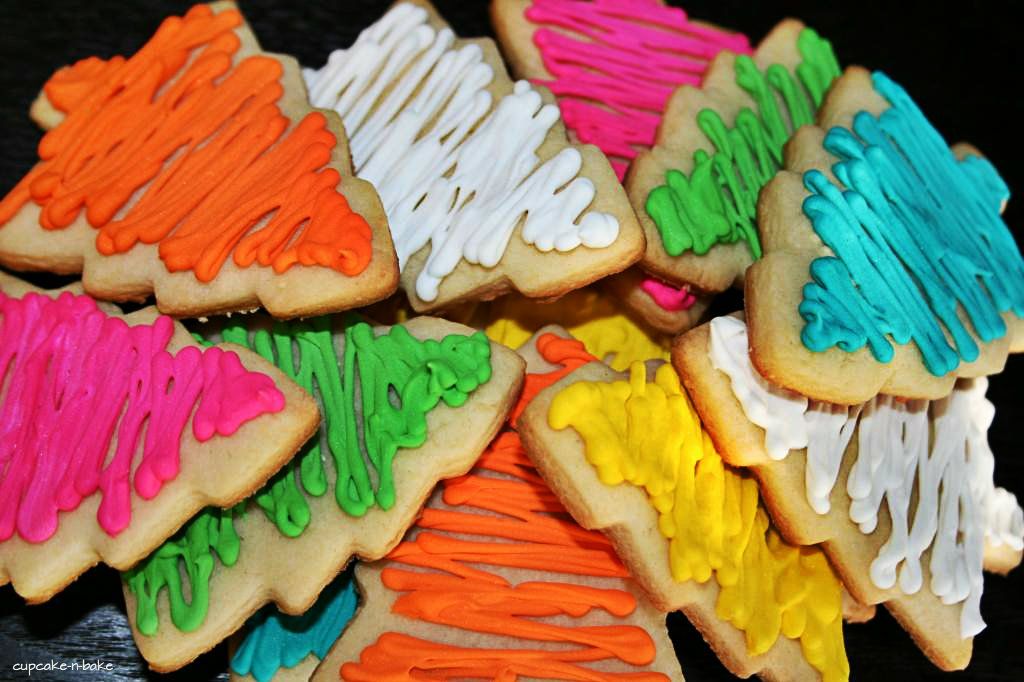
Electric Christmas Trees via @cupcake_n_bake #holidays #cookies

Using the #2 tip, pipe one color at a time. Starting at the bottom, pipe horizontally from left to right, moving upward on the cookie. See, easy! It's just a back and forth motion. Start off slowly, then gradually get faster. But, don't go too fast, or you may have a few gaps. 

Electric Christmas Trees via @cupcake_n_bake #holidays #cookies

These are so easy and fun. I just know little girls everywhere would love the bright colors. 

Now, are you ready to party? 


Cupcake-n-Bake


The rules are simple.

  1. Grab a button. You can grab one above, or on the sidebar. :)
  2. Link up your twitter handle only.
  3. Please follow me. Also, follow someone else. Everyone loves new twitter followers.
  4. Have fun!
Use the widget below to add your twitter handle.

Print Friendly and PDF

Saturday, December 8, 2012

Getting Crafty

Before I begin...this is not a baking post. I know, I know! Since I don't have an "everything" blog (yet), and I really wanted to share this craft, I'm posting it here. So, we'll just say this is a preview for what will come once I'm ready to start a second blog to compliment this one.

Let's get crafty!

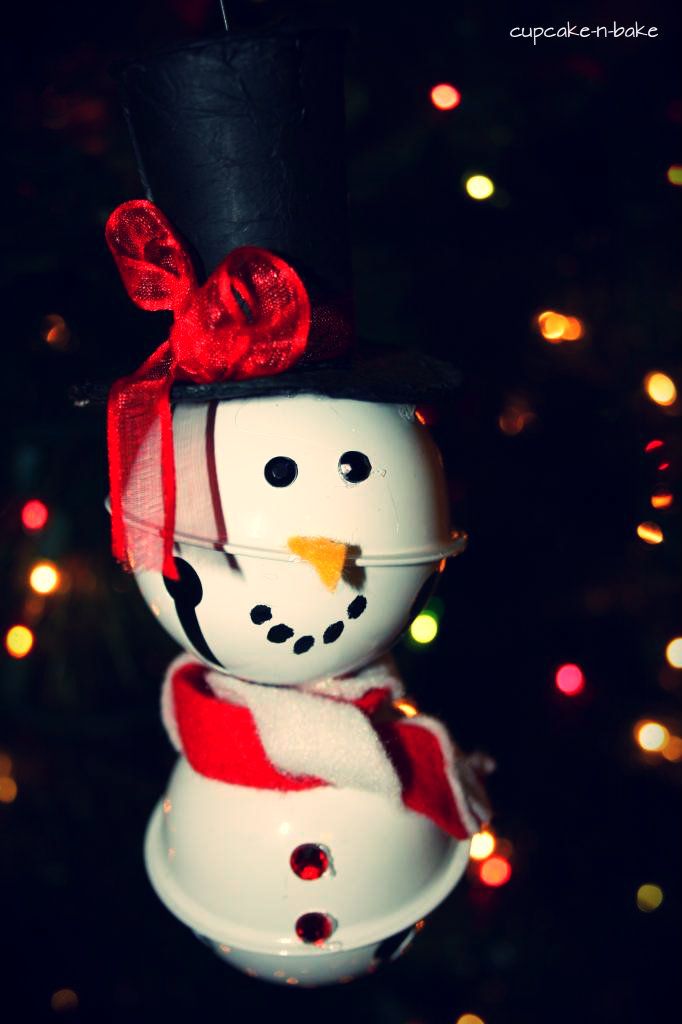
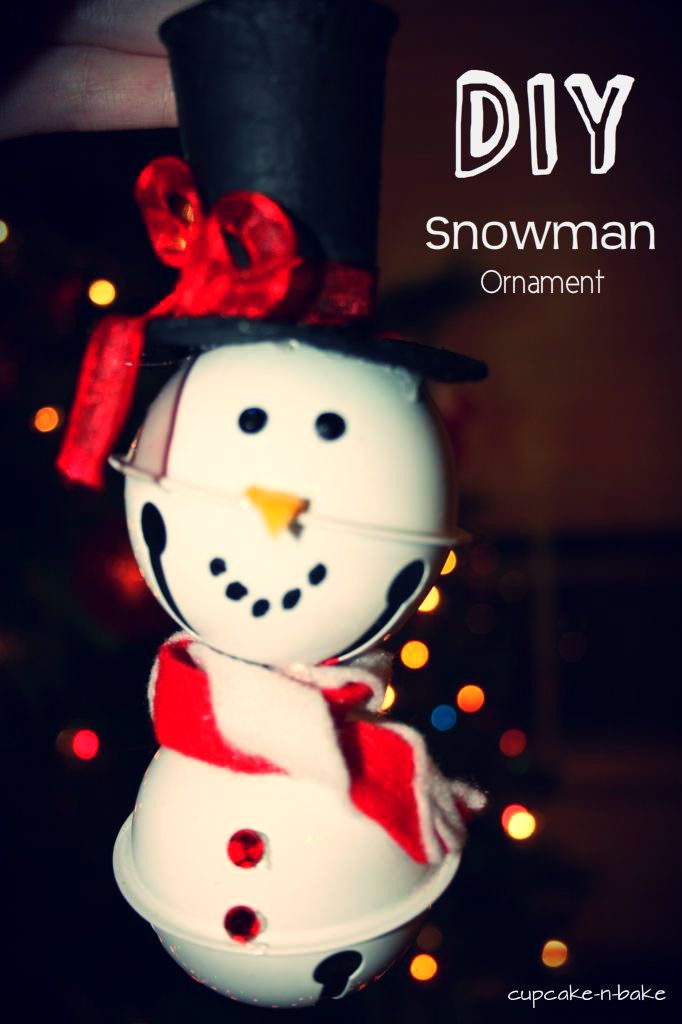
#DIY Snowman Ornament via @cupcake_n_bake #Christmas

I participated in an ornament swap over at The Artsy Girl Connection. First, let me say that it was so fun participating in this, and I cannot wait to do it again this year. One bit of advice, though, if you participate in one, CHECK YOUR SPAM FOLDER!! I made this mistake. I checked my email every single day, and every day I wondered why I hadn't received anything from anyone. It was in my spam. I didn't realize it until I received my ornament from another lovely blogger. Oops :/ She was very understanding though. Next time, I will get it right :)

So, do you want to make a snowman? You'll need:
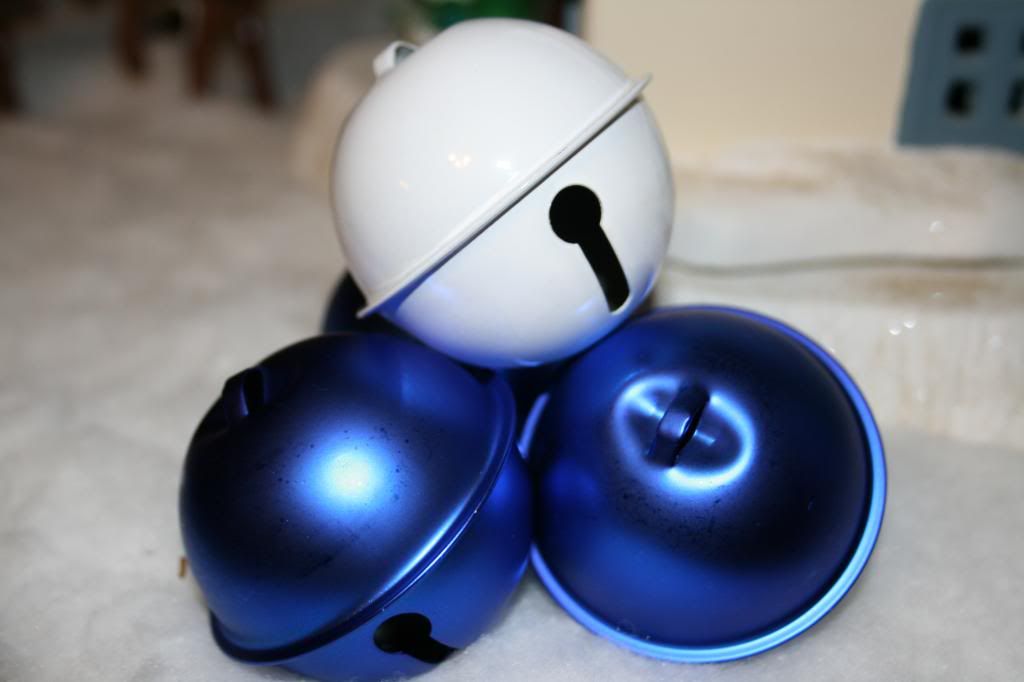
White Jingle Bells (from the craft store)
Red, White, and Orange Felt
Red and Black Sequins
Black Acrylic Paint
Red Ribbon
Black Cardboard (or you can purchase a top hat)
Hot Glue

#DIY Snowman Ornament via @cupcake_n_bake #Christmas

Start with your two white jingle bells and red ribbon. You might also need a needle and thread or hot glue. 

Cut a short piece of the ribbon just long enough to connect the two jingle bells. Use a needle and thread to sew the ribbon together. If the ribbon is too long, and the bells are too far apart, just hot glue the ribbon together. 

#DIY Snowman Ornament via @cupcake_n_bake #Christmas

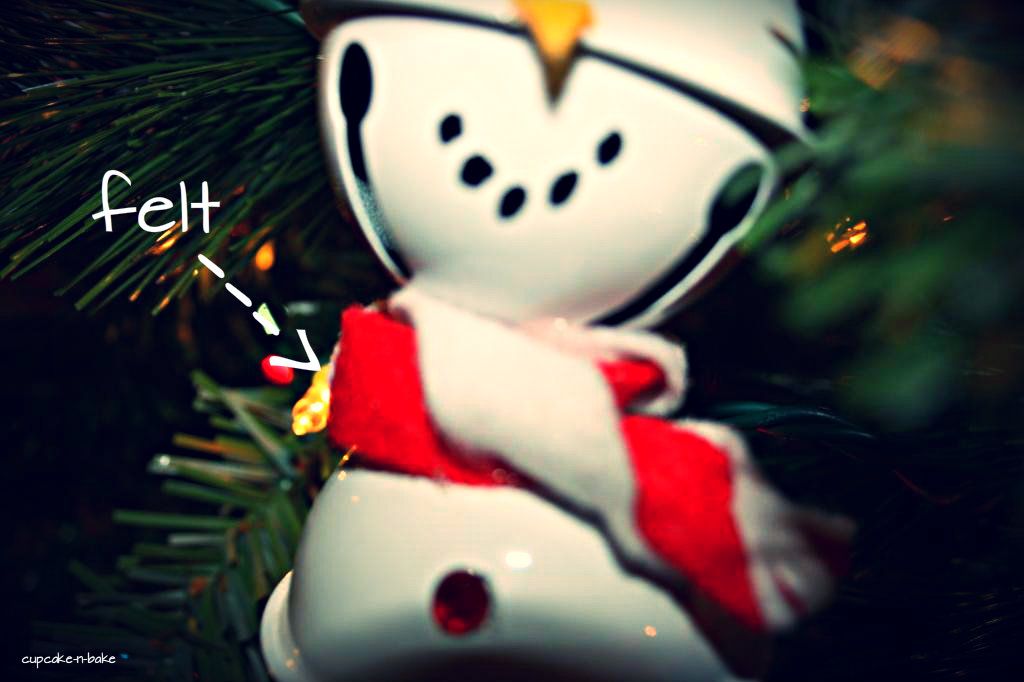
Cut a piece of red felt and a piece of white felt for the scarf. Twist it together so that it looks striped. Hot glue it to the middle (you know, where you pieced the bells together). Cut off the excess felt, and fray the edge with scissors. 

#DIY Christmas Ornament via @cupcake_n_bake #Christmas

Use red sequins for the buttons. The sequins may come pre-sticky, but hot glue them just in case. Do the same for the eyes (but black). 

Next, cut a small piece of orange felt for the carrot nose. Hot glue it to the rim of the bell. Then, paint the mouth on with black acrylic paint.

#DIY Snowman Ornament via @cupcake_n_bake #Christmas

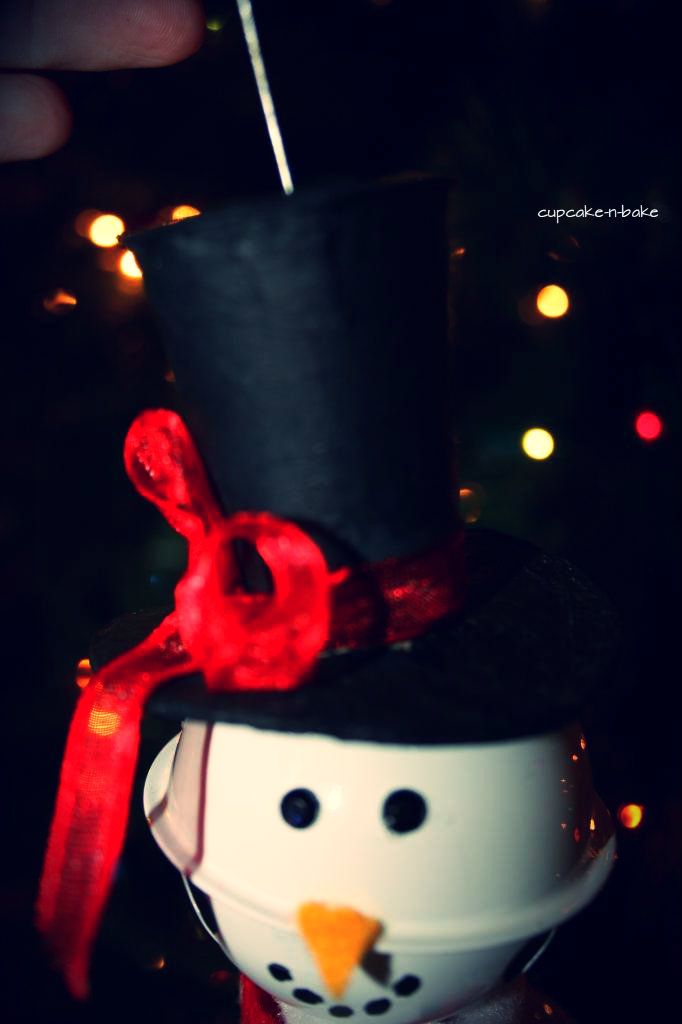
Use black cardboard to form a top-hat. Wrap a red ribbon around the hat for decoration. Before you attach the hat tie a ribbon around the top of the bell, and tie the hook into it. Poke a small hole through the top of the hat, and feed the hook through. Hot glue the hat to the top of the bell in order to hide the ribbon.

#DIY Snowman Ornament via @cupcake_n_bake #Christmas

Now you're finished! I absolutely loved making this ornament. I almost didn't want to send it off. I guess that's what I get for not making two. Oh well, maybe next year. 

Oh, and I promise the next post will be right on target with baking. And don't forget to stop back by on Tuesday for Twitter Tuesdays

Merry Christmas!

Print Friendly and PDF

Thursday, December 6, 2012

Frosty the Snowman

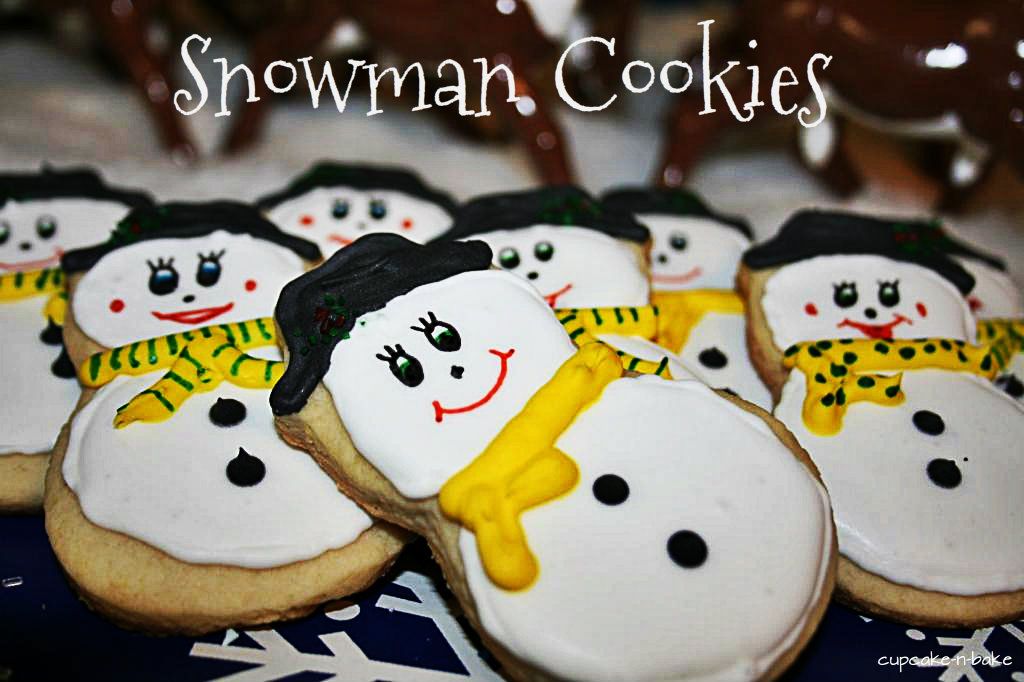
This week, it was in the mid-70's here. That's December in Alabama. Regardless of the warm weather, I made snowmen cookies.

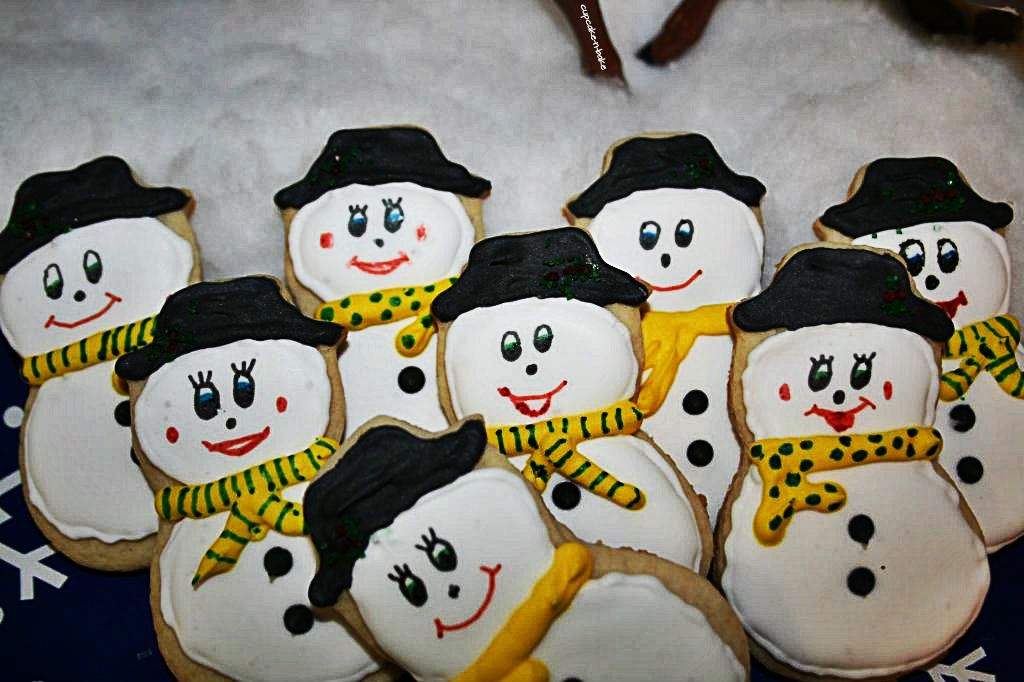
Snowman cookies from @cupcake-n-bake

I realize the title says Frosty the Snowman, but these are just regular snowmen.  Hey, I didn't exactly have any inspiration (70 degrees here.) But, if you're feeling the Holiday spirit, here's what you'll need to decorate these:

Black and yellow food coloring
Royal Icing
#2 and #4 tips
Red and Green sprinkles
Edible markers (base colors)

Snowman Cookies via @cupcake_n_bake #Christmas

First, you'll need to use your #2 tip to outline the snowman. I'm not the best at making circles, so my snowman aren't perfectly round. When you live in a place that hardly ever gets snow, you understand that its hard to make round snowmen anyways.

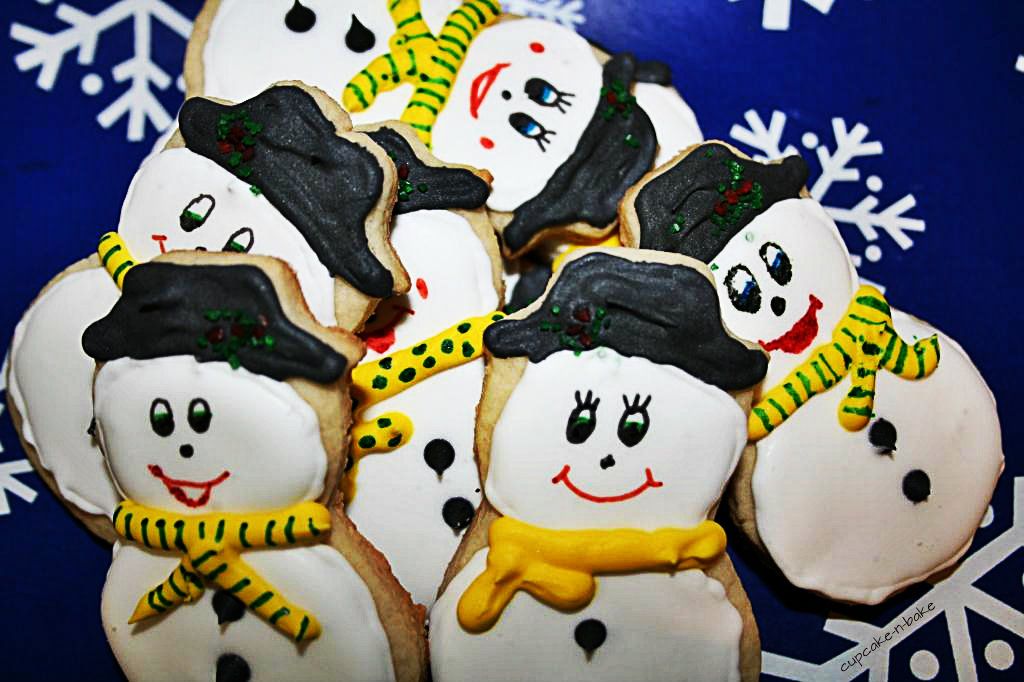
Next, you'll flood your snowmen with white icing. While that's drying, use the #4 tip to draw the hat with black icing. It's such a small area, so I just piped that part. 

Now add three red sprinkles to the hat for berries, then add the green for the leaves. 

Snowman Cookies via @cupcake_n_bake #Christmas

Let your snowmen dry completely before adding anything else. When they are dry, pipe buttons with the #4 tip. I used black icing for that as well. Using the same tip, also pipe the scarf. 

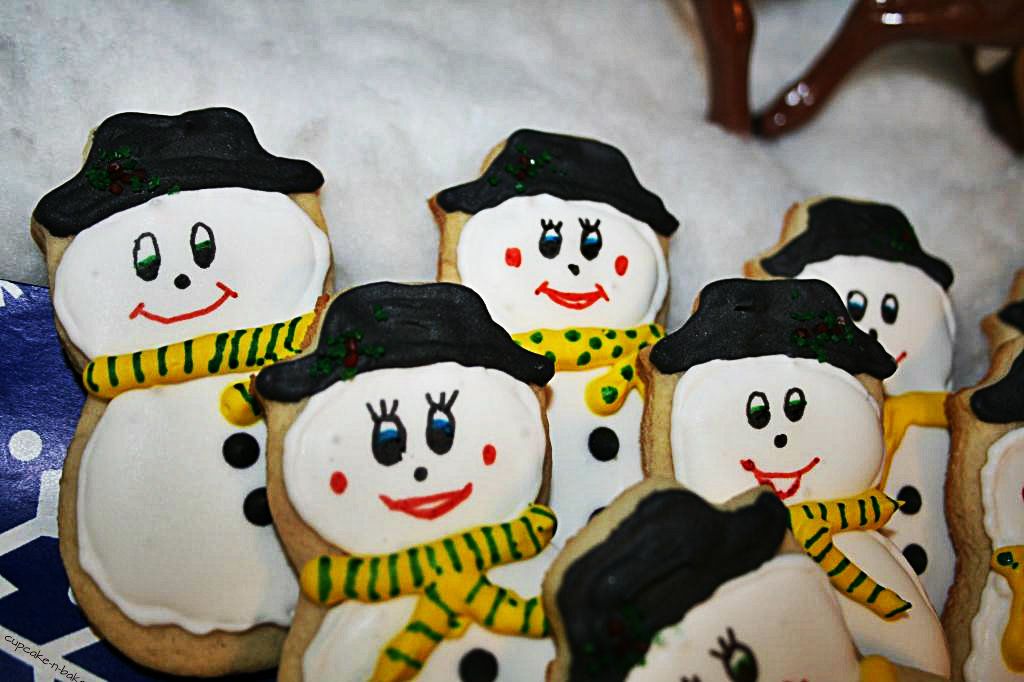
While you are waiting for the scarf to dry, use your edible markers to draw the face on. I was going to use candy eyes for the snowman's eyes, but they were just a tad too big. So, I ended up drawing the entire face.

After the scarves were dry, I added a little detail with my markers. I drew stripes and polka dots. Ultimately, though, the plain scarves were my favorite.

Snowman Cookies via @cupcake_n_bake

After they were completely dry, I packed them up to send to my brother-in-law. I'm on a mission not to eat any of the cookies that I make. So far, I'm succeeding! 

So, there you have it - Snowmen Cookies. This just goes to show you, Christmas cookies don't have to be complicated. I'm starting off slow this year and progressing to harder cookies as the month goes on. As they say, practice makes perfect.

Happy Holidays!


Print Friendly and PDF