Since it's been so wonderful outside, I decided to hang out on my balcony and work on a spring craft.
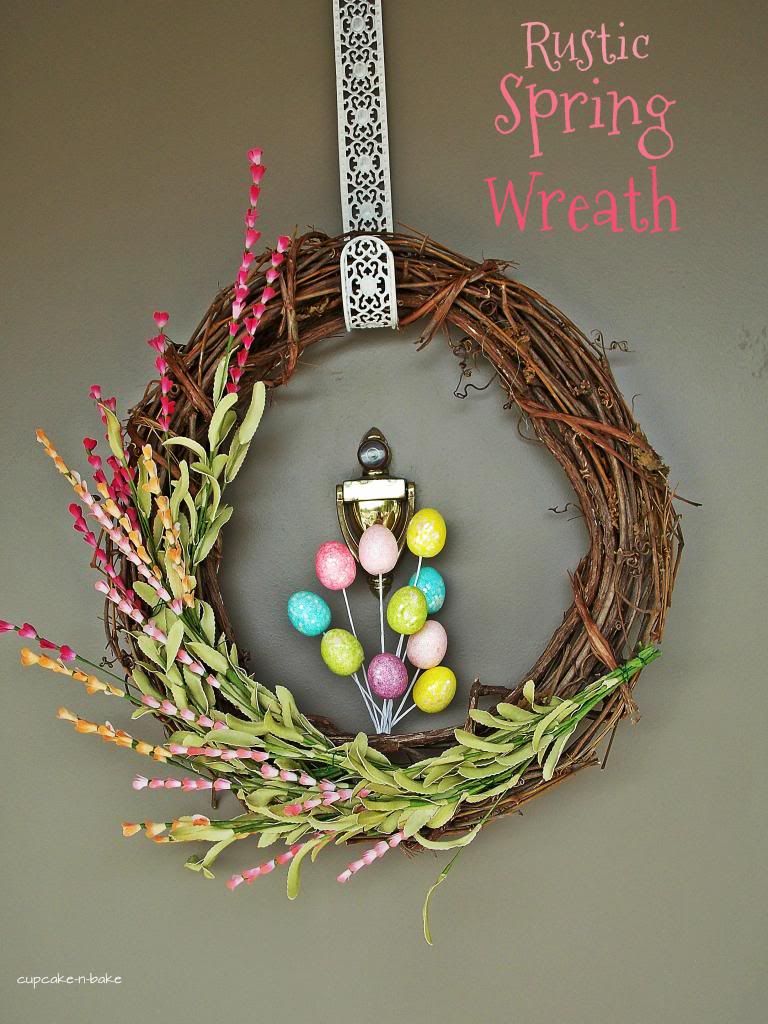
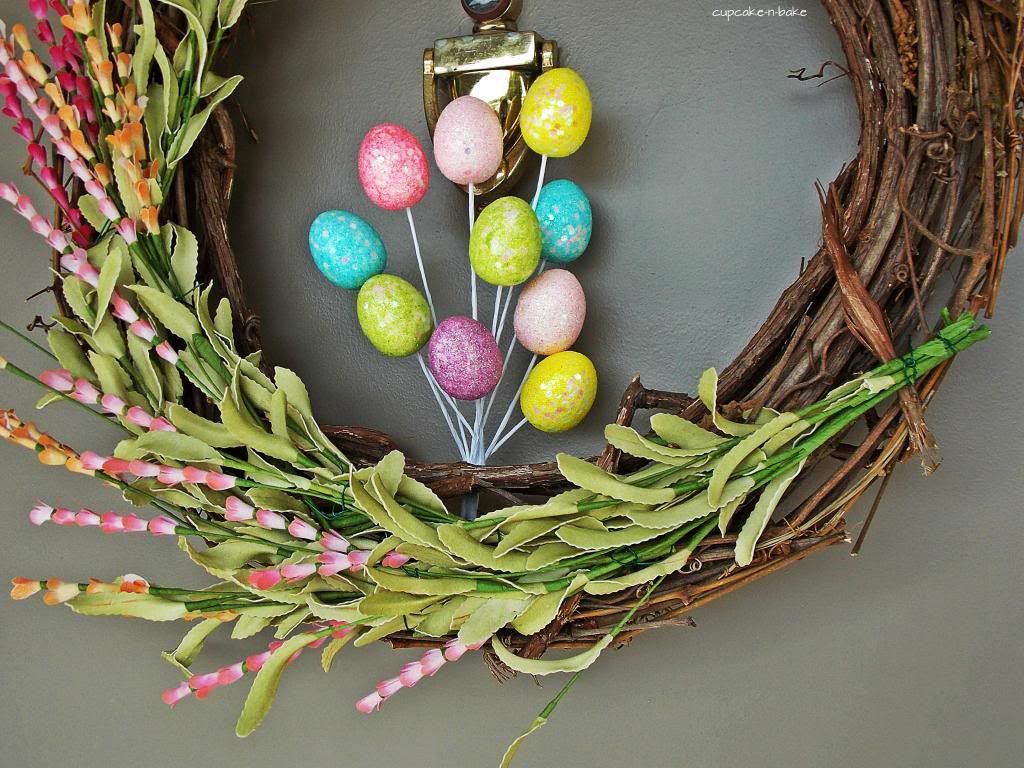
This is the very first wreath I've ever made. I've gotta say, I think I did a pretty good job. Hubby humored me and asked where I bought it at. Isn't he sweet? I'm hoping one of my neighbors knocks on the door to ask the same thing.
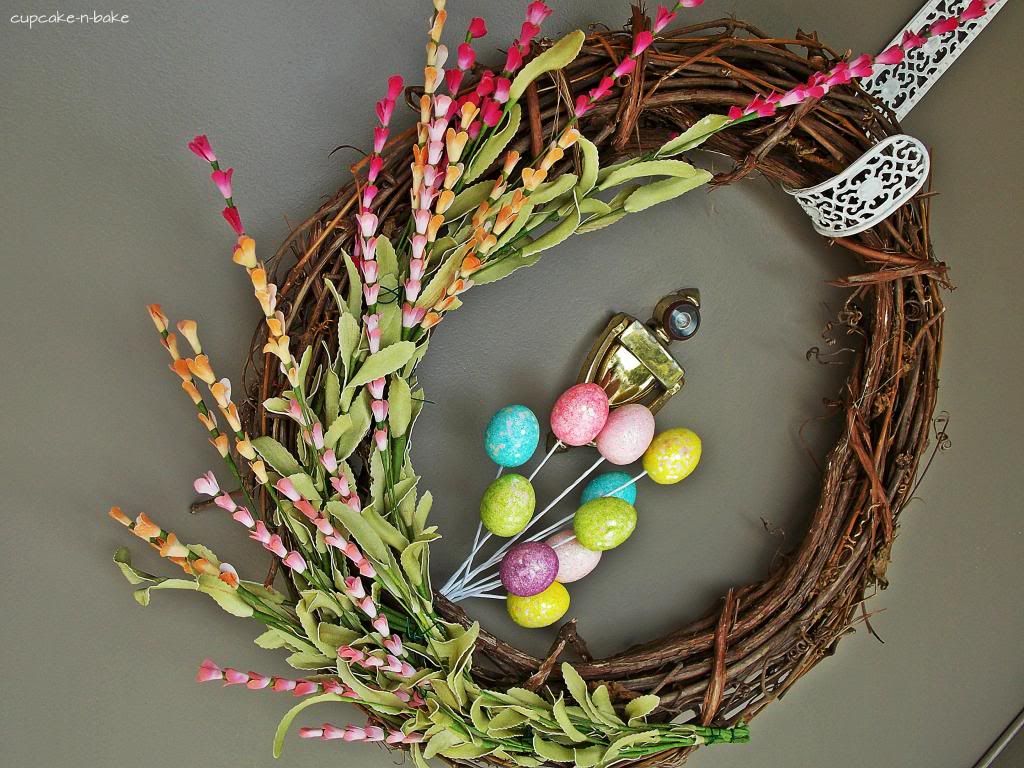
So I bet your wondering: why does the photo say "Rustic Spring Wreath"? Well, when I was sorting out all the components, I sort of laid each piece where I wanted it to go permanently. I sent a picture to my sister, and her exact words were ,"Cute. Rustic." Rustic, really? That wasn't what I was going for, but with a second look, it fit.
So I bet your wondering: why does the photo say "Rustic Spring Wreath"? Well, when I was sorting out all the components, I sort of laid each piece where I wanted it to go permanently. I sent a picture to my sister, and her exact words were ,"Cute. Rustic." Rustic, really? That wasn't what I was going for, but with a second look, it fit.
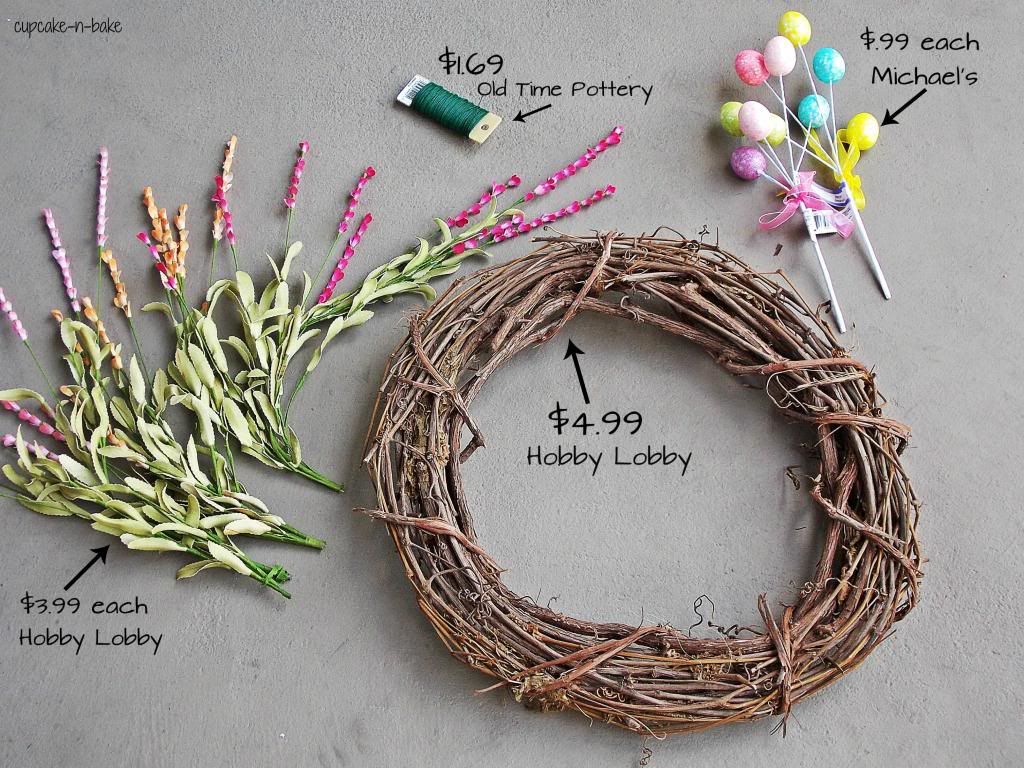
Here's what I used to make it:
- 1 stick wreath from Hobby Lobby.
- 2 decor sticks (honestly I'm not sure what they are called.) from Michael's.
- 3 flower stems from Hobby Lobby.
- 1 pkg of stem wire. I got mine from Old Time Pottery.
- You'll also need a really great pair of scissors.
Since the wreath is wooden, it's best to build it outside. It can get a bit messy. Also, my puppy tried to eat it. I guess she thought it was the same as the sticks outside. Umm, no.
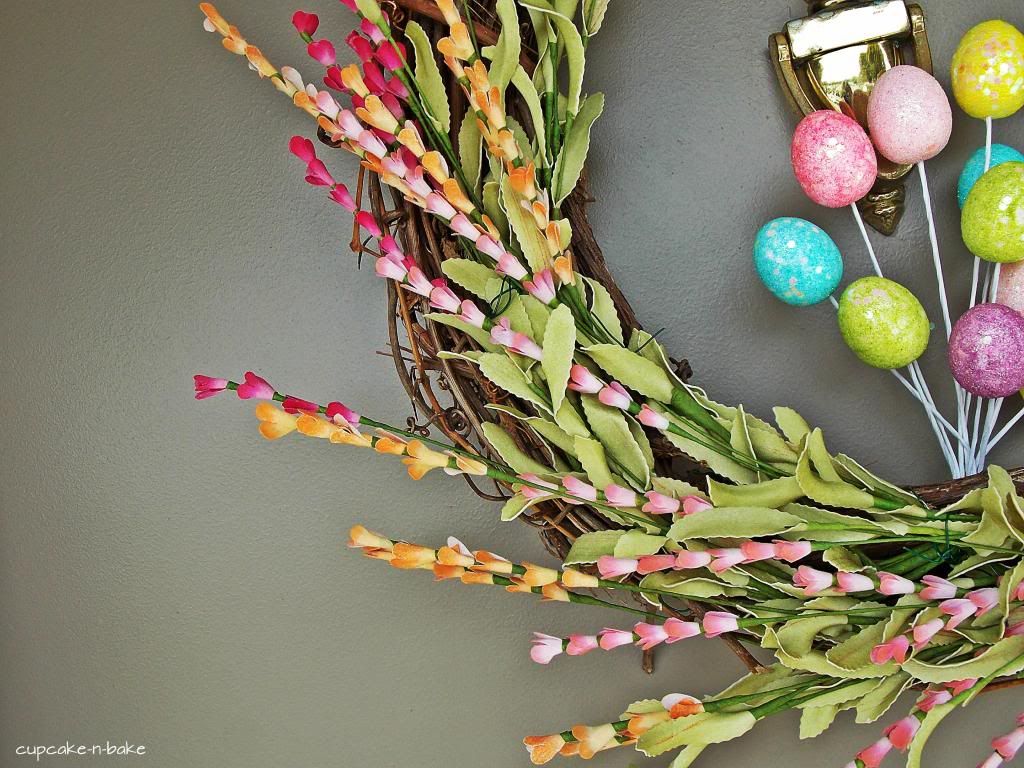
Putting it together is pretty straightforward. I used my Cutco scissors to snip off most of the stem on the flowers. For a wreath, I really didn't need anything long. Then, starting with the flowers closest to the top, I attached the base to the wreath using stem wire. I attached it twice towards the bottom, and once towards the middle. I was sure to leave a few of the leaves loose to cover up the wire. Also, I attached some of the flowers together in order to make them stay where I wanted them. Repeat this with the other two flower stems.
Finally, I added the egg stems. I used a bit of washi tape to attach the two stems together and shaped the eggs the way I wanted. Then, I laid the egg stems under the wreath to get an idea of where I wanted them to go, and also, to see if they were too long. They were. So, I chopped the stems until they were the right length. I used my Cutco scissors, but if you don't have any, you may need something stronger. When they were the correct length, I used more of the stem wire to connect them to the back of the wreath.
I proceeded to hang the wreath on my laundry room door to make sure nothing needed to be moved, and to make sure nothing was loose. It turned out perfectly!
I know there are a lot of you guys out there in the snow, and I'm hoping spring comes quick for you. but until then, get ready with this simple, yet rustic, spring wreath!
Don't forget to link up to Manic Monday :)














Love this! Cute and rustic is a perfect description. I have never made my own wreath, but may now have to give it a try.
ReplyDeleteKate x
http://www.kateathome.com/
Kate, this was my first one, but I really liked how it turned out. Glad you like it!
DeleteVery cute! I'd like to invite you to participate in my Pin Me Linky Party. It goes Fri-Tue. I allow up to 3 links each week!
ReplyDeleteOh, thanks for the invite! I'll check it out!
DeleteWhat a pretty wreath! I love the colors of the flowers!
ReplyDeleteCynthia at http://FeedingBig.com
I am so glad you shared this beautiful wreath with everyone at the In and Out of the Kitchen party! I just love the colors and the simplicity of it!
ReplyDeleteThank you for linking up at the In and Out of the Kitchen party! I can't wait to see what you bring next week!
cynthia at http://FeedingBig.com
I'm glad you like it Cynthia!
DeleteGreat wreath! I need to make one before Easter is over!
ReplyDeleteThanks, Jamie!
DeleteI love the asymmetry and the splashes of spring colors! :)
ReplyDeletetoddlindsey.com
Thank you, Lindsey!
DeleteRenea, your wreath looks adorable! You did a fabulous job. Thank you so much for sharing at A Bouquet of Talent this week. :)
ReplyDeleteHugs
Kathy
Just pinned, too!
DeleteHello! This pretty inspiration will be featured at Smart School House for Whimsy Wednesday! The new party and your feature will go live later today. See you soon!
ReplyDeleteKelly from Smart School House
Facebook: http://www.facebook.com/SmartSchoolHouse
Google+https: //plus.google.com/u/0/111902135882668872474/posts
What a beautiful wreath! So simple but so cute! You are a Featured Favorite this week on Saturday Show & Tell on Cheerios and Lattes! We loved having you join us last week and can't wait to see what you have been up to this week! Have a great weekend!
ReplyDeleteMackenzie :)
Very Pretty and so simple. Pinned! Thanks so much for linking up to Two Cup Tuesday at Pint Sized Baker. I look forward to coming back on Monday Night!
ReplyDelete