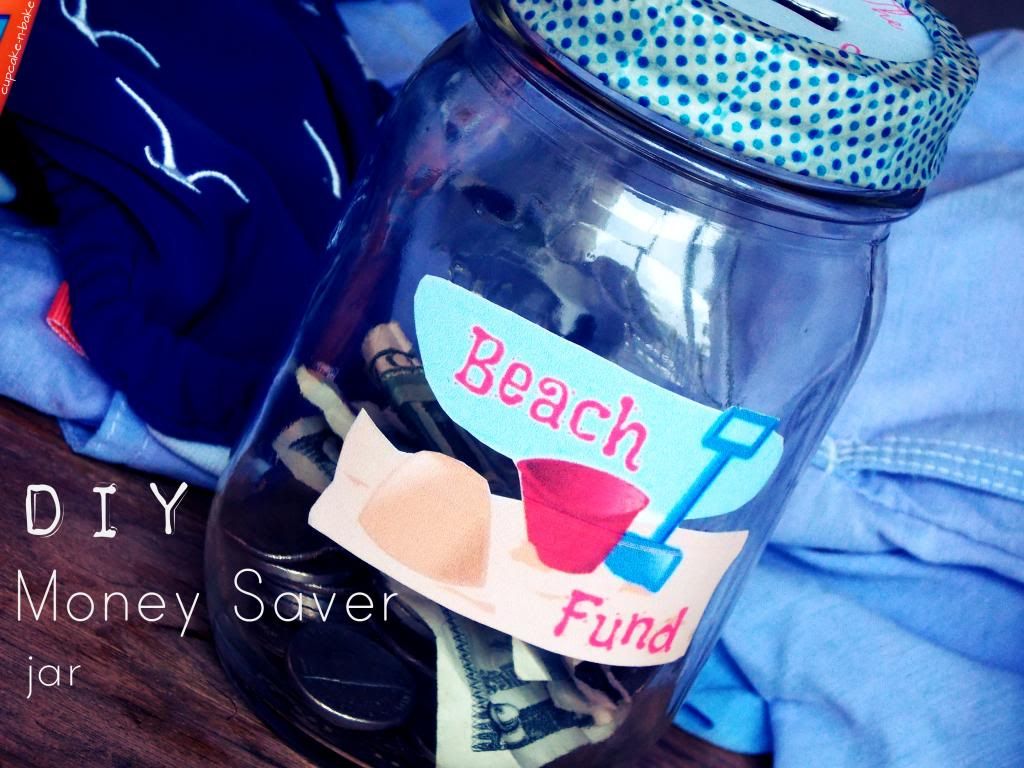
So, that got me thinking. I bet you have started saving up for vacation, right? Well today, I'm sharing a cute way to save your spare change.
We already live in a vacation destination, but I was shocked to find out that it costs to park at the beach here. I went to the beach every year as a kid, and even when I was older, and it never cost us to park. So, to say the least, I was not very pleased.
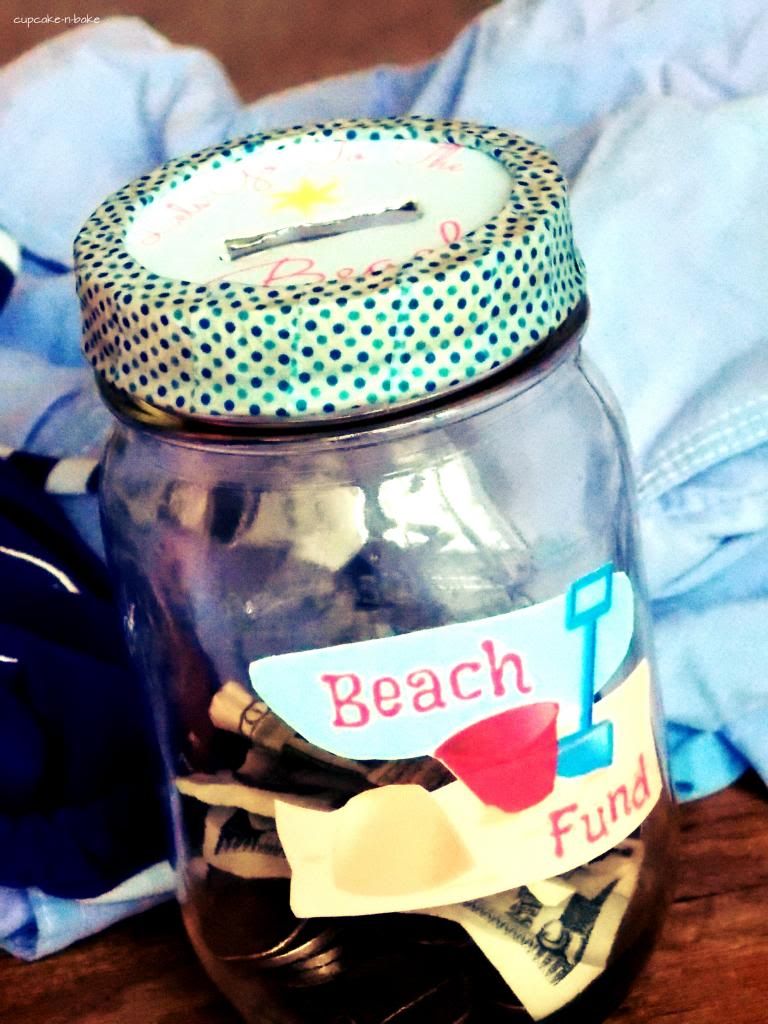
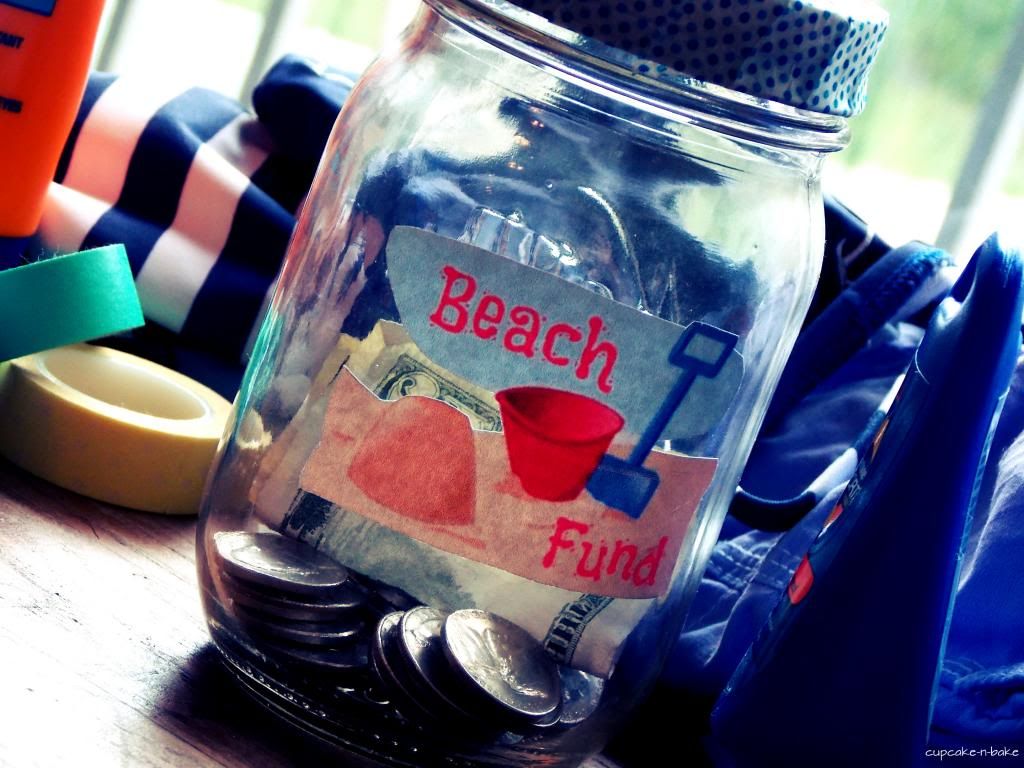
I decided, since for some unknown reason Hubby always has spare change, I would make a cute beach jar. Then, I decided I would share my creation with you. Now you can make one too!
Here's what you need:
- Washi tape -any color- I chose Seattle Rain
- Sticker paper
- 1 pint sized mason jar
- a very good pocket knife
- this printable
- and this printable
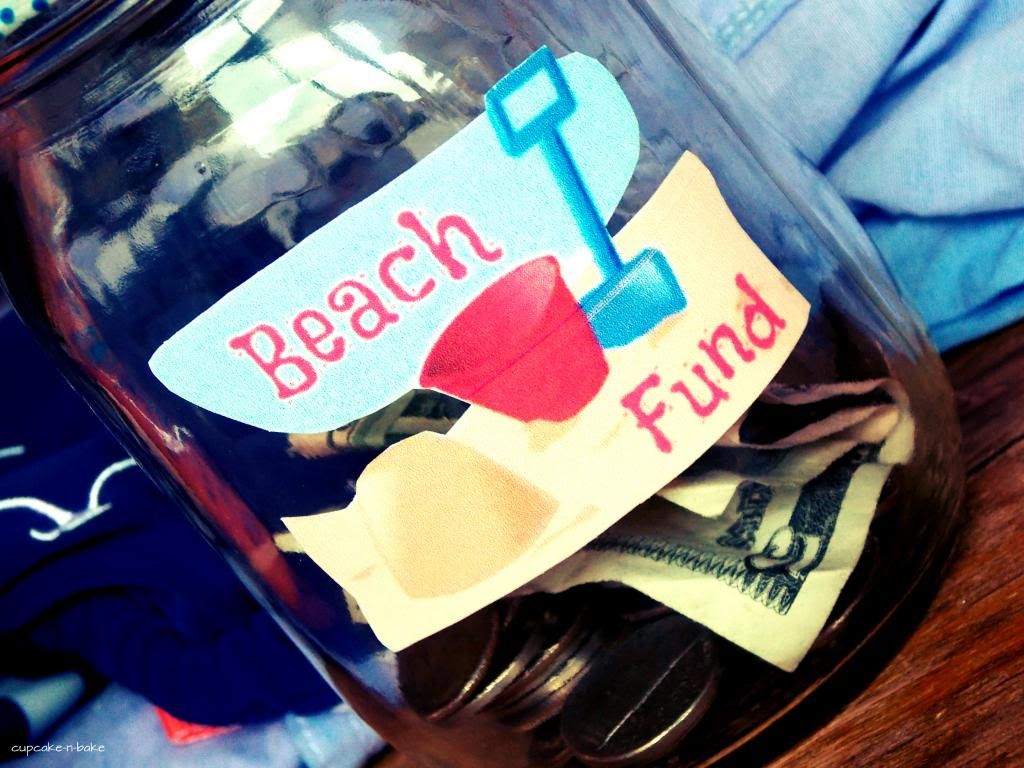
Let's start with the easy part. Print the first printable, then cut it out. Use scissors or a knife to cut out the hard to reach parts. Now, I probably don't have to tell you this, but peel off the sticker backing and attach the printable to the jar wherever you would like.
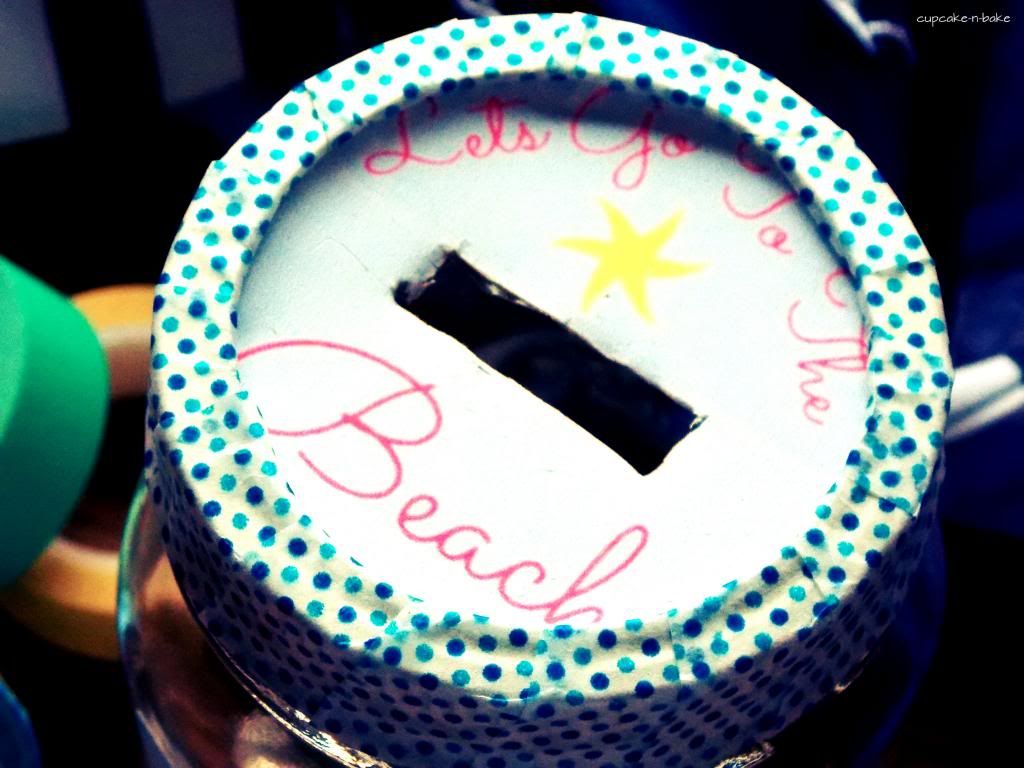
Next, wrap your washi tape around the seal of the mason jar. I used small pieces instead of one long piece, because I didn't want to chance it getting messed up if I took the top off. This takes a little bit, but it's really very easy. Plus, it makes the final product extra cute!
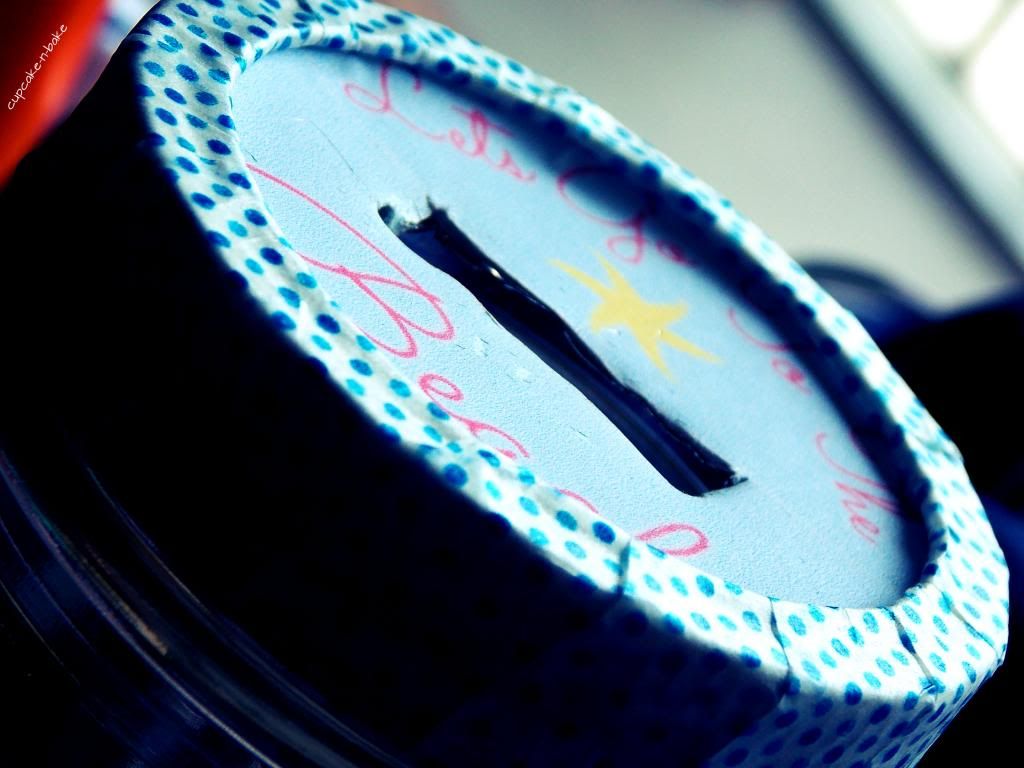
Now print and cut the other printable. I'm pretty terrible at cutting circles, so I made mine a little larger than the opening so that it wouldn't show. Don't cut out the middle part just yet. Attach the printable to the top of the mason jar.
Use the pocket knife to cut a slit in the top of the jar. You'll be cutting out the white part. Be very careful! You could also use a drill, but I'm really not the person to ask about that. If you have a dremel, I bet that would work fantastic!
I was sure Hubby was going to kill me when he got home and found out I used one of his bazillion knifes, but I was wrong. He really didn't mind. Surprising!
Now you can put the top on and start saving your spare change! This has worked out wonderful for us. We are usually cash spenders; meaning if we have cash, we are going to spend it. However, this little jar has saved us a ton of spare change that we can use for the beach! Who would have thought?
So, what do you think?
Happy Savings!






What a great project - I am going to get my daughter to make one this weekend.
ReplyDeleteThanks for sharing the idea.
Kate x
http://www.kateathome.com/
I hope the printables work ok for you. If they don't let me know!
DeleteHow cute! My little girls would love one (each of course). You can't really get the money out of the piggy banks that they currently have without breaking them, and I'm not ready to do that yet!
ReplyDeleteOh, this would be great for a not so permanent piggy bank!
DeleteVery cute idea. Thanks for sharing with us at "In and Out of the Kitchen Link Up Party"
ReplyDeleteDawn
http://spatulasonparade.blogspot.com
This is cute! My daughter made one like this for the money I find in pockets for the laundry! Paper & change she wrote! =)
ReplyDelete