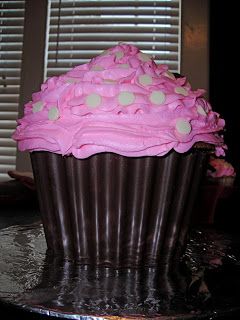
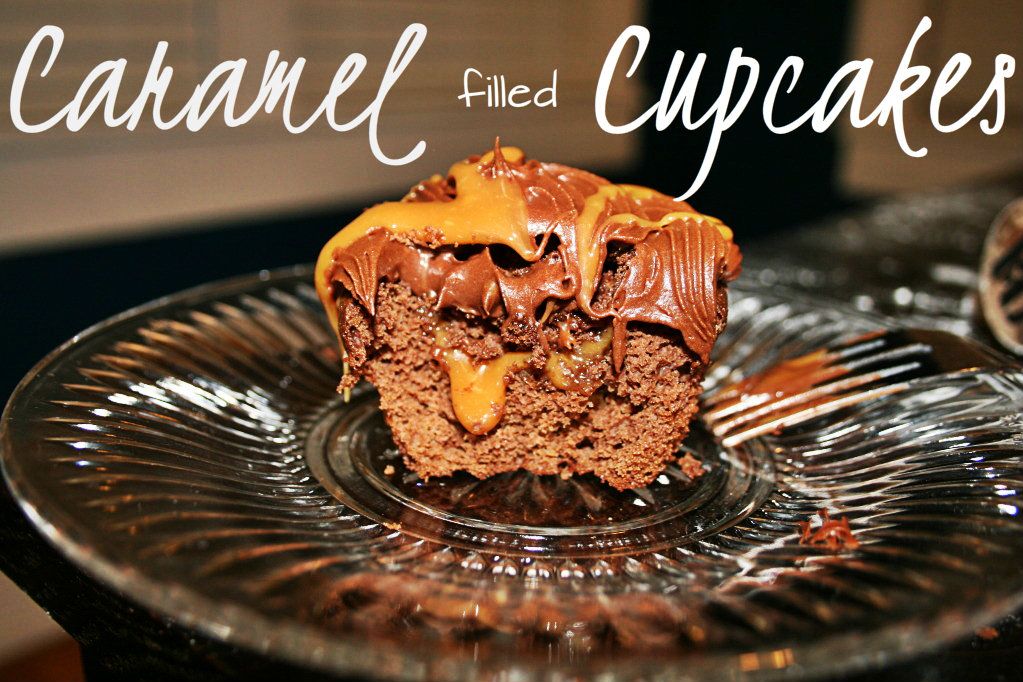
Even though I've been gone so long, I have been working on a few things. Today, I'm starting off with a DIY project; later, I'll be showing you some cupcakes. Is it too early for fall stuff? I sure hope not!
So what's this DIY project, you say? Well...it's a Chevron Cross!
I made this little jewel around Easter from scratch. My dad had a spare piece of wood lying around that he said I could use, so making this was basically free! I don't know about you, but I love free stuff.

I bet you're wondering how to make this, right? Well, like I said, i started out with a square piece of board. Then, with the help of my dad, I took measurements. You're definitely going to need a ruler or a yard stick. As you can see in the picture above, I basically drew lines all over my board until I was satisfied. I drew out the squared off parts of the cross, then I freehanded the curves. It was particularly hard to get the curves to all look somewhat similar. I wouldn't suggest doing this on your own. I had three other sets of eyes on this, because I seriously didn't trust my judgement.
After you get it all measured out, it's time to cut. I used a jig saw, because I needed something that could easily get in those corners without blocking my vision. It doesn't have to be perfect. I mean, it is handmade!

After I got is all cut out to my specifications, I primed it. I used a gray primer, because that's what my dad had on hand. I seriously would suggest using white primer, though, because it took me forever to cover this gray.
After priming it, I began taping it off into my chevron design. Again, I needed a ruler for this. I wanted it to be as close to perfect as possible. I lightly drew out lines that were two inches thick, then I started peaking them to make the chevron pattern. So, each width is two inches, and each peak is two inches.
When I was finished drawing, I taped off the part that I would leave white. After doing so, I posted a picture to facebook to see if the pattern looked okay. I got mixed reviews, but I decided I liked it how it was.

Then, I began painting. I started off with my orange. I love love this color. You see, it's not just normal orange. It's red-orange. I mixed bright orange paint with a few drops of red to get the color I desired. Remember how I mentioned earlier that I used gray primer? It took so many coats of paint to cover that up. Heed my warning, and use white primer.
When I was finished with the orange, I used white acrylic paint. Then, I decided that I wanted an off-white. I had some off-white spray paint lying around the house, so I tested that. I figured that if I didn't like the way the spray paint went with the brush strokes of the orange paint, I could always go buy some off-white acrylic paint. Oh, but guess what! The brush strokes from my original white painting showed through the spray paint! So even though it was spray painted, it looked hand painted!
Then, I finished off by spraying some clear gloss to give it a little shine.

Originally, I wanted this to be a door hanger. I see door hangers like this all over the place, and, I mean, why pay $20 for one when I could just make one. Then, when I got it cut out, I decided I wanted to look at it all the time, so I hung it on my wall. I really love it, too. Eventually, I'm going to get some family pictures to hang around it.
So, what do you think? Pretty easy, right?
Happy Crafting!


Hi Renea, welcome back! I love your chevron cross you made! I'm looking forward to your fall crafts too! The year went so fast! Take care.
ReplyDeleteJulie
Julie, it did! I'm so glad you like this. Have a wonderful week!
DeleteWelcome back to blogging! I love the cross...and the color is PERFECT....so bright and cheery.
ReplyDeleteThanks! I'm glad you like it.
DeleteThat cross is beautiful! I love chevron patters and those colors are just lovely. Welcome back! Thank you for linking at the In and Out of the Kitchen Link Party. Hope to see you again next week.
ReplyDeleteThank you so much! I've heard people say they are tired of chevron, but I still love it! Glad to be back ;)
DeleteRenea, that is very nice. I'm glad you have internet and are back in business. My son has a blog, too, but no internet service. He hangs out at the library a LOT.
ReplyDeletePatricia, I spent tons of time in the library when we didn't have internet. I just decided it was too much work to blog from there.
DeleteWelcome back to blogland! Love the cute chevron print and the color is beautiful! Thanks for sharing on Hump Day Happenings : )
ReplyDeleteThank you for hosting, and thanks for the lovely comment!
Delete